In Part 3 Upwood became part of the Pathfinders operating Mosquitoes on major operations as Bennett’s Pathfinder Force. Eventually the war drew to a close and bombing operations wound down. Then we entered the jet age.
With the war in Europe now over, Upwood would become a ‘graveyard’ for RAF squadrons. The first of these 105 Squadron, arrived in the same month as 156 departed, with Mosquito XVIs. By the end of January 1946 they were gone, but like the Phoenix of Greek folklore, they would arise from the ashes at Benson in the early 1960s.
102 Squadron were another typical example of this, arriving in February 1946, only to be disbanded two weeks later, being renumbered as 53 Squadron. 53 Sqn made a conscious effort to buck the trend by flying with the four engined heavies the Liberator VIs and VIIIs, but sadly they too did not last long, closing in the summer of that same year.
1946 was a busy year at Upwood, with what seemed a constant ebb and flow of ‘heavies’, this motion setting a scene that would prevail for the next eight years or so.
February 1946 finally saw the departure of 139 Sqn to Hemswell, after two years at Upwood, their time here had come – their historic role had come to an end. But for Upwood, it was still not the final curtain, for on July 29th, another unit would arrive, 7 Squadron. The unit was reduced to just ten aircraft prior to the move, and would not take on any new models until 1949 when the Lincoln B.2 arrived. An aircraft developed from the highly successful Lancaster, it would be used in operations over Malaya until the squadron was disbanded and then reformed elsewhere with Valiants in 1956.
Back in November 1946, two other squadrons would reform here at Upwood, both 148 and 214 Sqns, and both with Lancaster B.1 (F.E.). These ‘tropicalised’ versions of the B.1 had been destined to go to the Far East to fly operations against Japan as the ‘Tiger Force‘. These modifications included changes made to the radio, radar, navigational aids and included having a 400 gallon fuel tank installed in the bomb bay. Faced with the high temperatures of the Far East, they were painted white on top to reduce heat absorption, and black underneath. Fortunately though, the war with Japan had ended before they could be used, and in 1949, both these units would lose them in favour of the Lincoln also. This meant that Upwood now boasted three Lincoln squadrons, the war may have been over, but the power of the Merlin continued on well into the mid 1950s, these three squadrons disbanding between 1954 and 1956.
In the summer months of 1952, Dirk Bogarde starred in a film made at Upwood using Lancasters in an ‘Appointment in London‘.
A wartime story it was made by Mayflower Film Productions, and used four Lancasters crewed by Upwood airmen. Starring Dirk Bogarde, it is a story of intense rivalry between a Wing Commander aiming for his 90th mission, and an American officer, there is the usual love story attached as the two try to put aside their rivalry to achieve their own personal aims.
On February 23rd 1954, a forth Lincoln squadron arrived at Upwood, 49 Squadron took the number of four engined heavy bombers even further, staying here until August 1st the following year, at which point they were disbanded only to be reborn at Wittering in 1956.
By now, the RAF’s long range jet bomber, the Canberra, had been in service for a few years, and had proved itself as a more than capable aircraft. A first generation medium bomber, it was designed by W. E. W. ‘Teddy’ Petter, and would go on to set the world altitude record of 70,310 ft two years after entering service here at Upwood.
The success of the Canberra would be one to rival the Lancaster and Spitfire. Being built in twenty-seven different versions, it was exported to over fifteen countries world wide. In the RAF it served with no less than thirty-five squadrons, several of them ending up here at Upwood. Over 900 examples were built by British companies, with a further 403 being built under licence by the American Martin Company and designated the B-57. In RAF service, it reigned for fifty-seven years, the last examples being stood down in 2006.
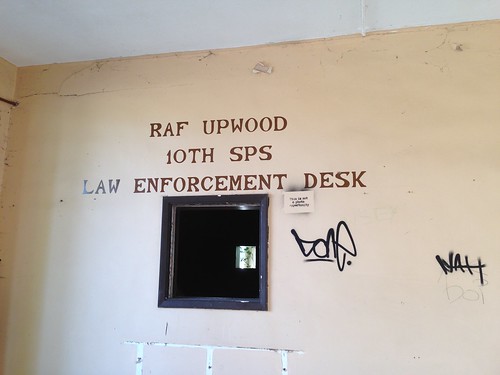
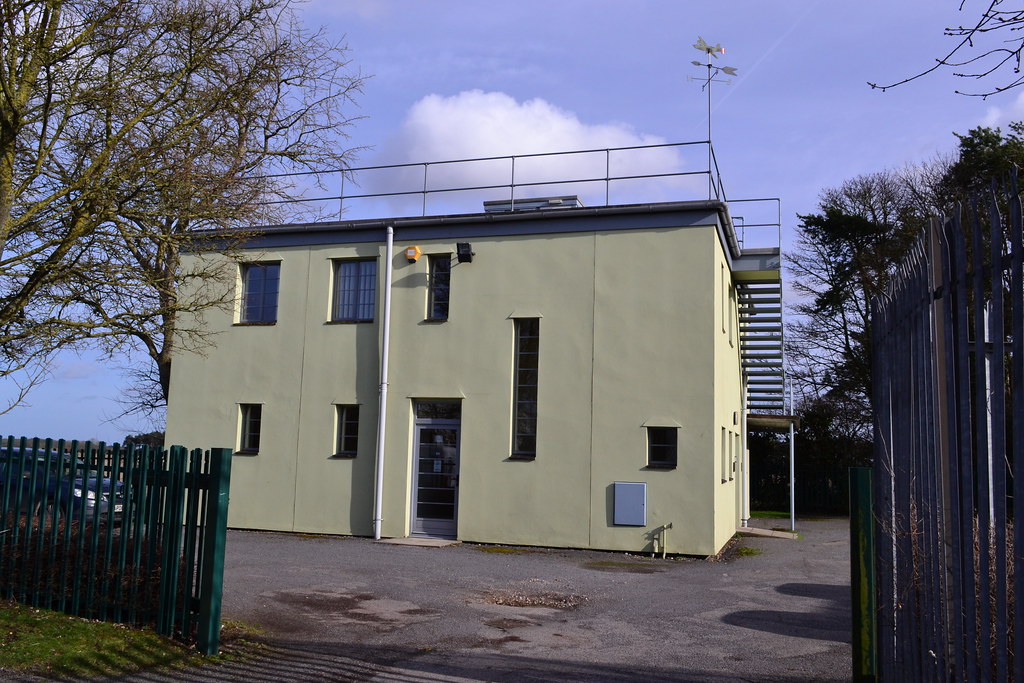
Inside the Gate house, the USAF presence. (Security Police Squadron).
Fortunately though, control of Upwood was then passed to the USAF for training and support services for nearby RAF Alconbury and RAF Lakenheath. It was earmarked for medical services, and should an attack occur during the Cold War, it would quickly be turned into a control area ready to deal with heavy nuclear attack casualties. Thankfully this was never put to the test though, and gradually the USAF phased out its use of Upwood, and as other airfields closed, personnel numbers became less and the homes they used emptied. Eventually, even the 423rd Medical Squadron pulled out, taking their community support, equipment and staff with them.
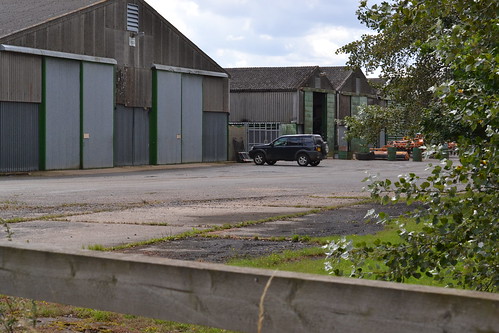
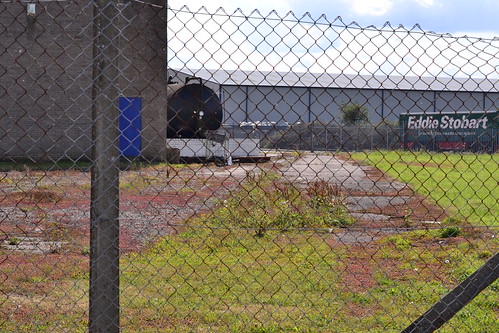
Upwood finally closed on 26th October 2012, and the remaining buildings including the NAFFI and NCO homes, were all sold off to developers and the site wound down. Since then, there have been numerous attempts to purchase the site and develop it with housing. These have all faltered along the way for one reason or another. On the positive side, the hangars remain actively used by an aero-engine company who refurbish jet engines. A glider club has been agreed a 10 year lease on the remaining parts of the runways (although these have been removed) and two Nissen huts have been fully refurbished to allow modern use. This part of the airfield looks and feels like a real and active military base, whilst the admin and medical side are ghostly reminders of its past. Standing on the site looking around, the imagination can only begin to think how this lonely and desolate place once bustled with crews and aircraft, crews going about their business and vehicles ferrying aircrew to their machines.

RAF Upwood’s hangars are still in use today. Aero engines outside await work.
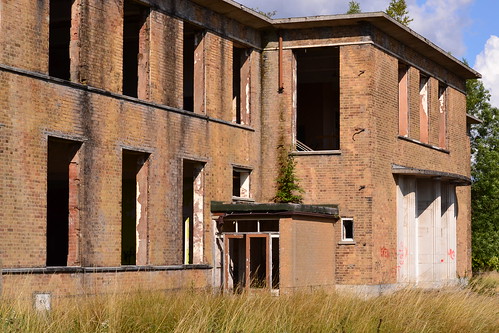
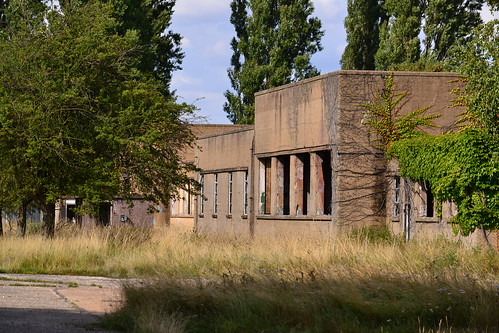
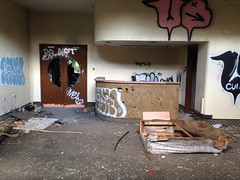
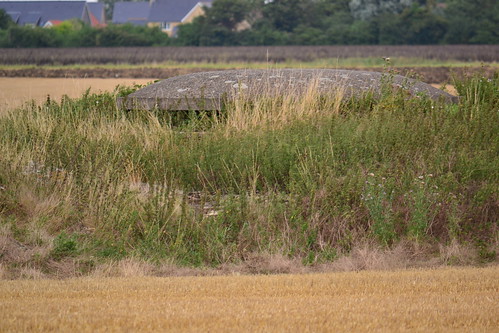
Today it is an enormous site covered with derelict buildings as if left following an atomic blast. The windows are all shattered, the buildings vandalised and graffiti daubed on all the walls. Two tanks have been brought in and a small urban assault company use it for mock battles. The guardroom, officers quarters and associated mess halls all remain, some in a worse state than others.
In 2017 the redundant site was acquired without conditions, and planning permission obtained for a comprehensive development of a small six acres of the site. This plan, put forward by Lochailort *5 included 60 houses. Huntingdon District Council have now incorporated Upwood into their long term Local Plan, and a proposal is under consideration for further development which would include the removal of large quantities of the buildings. It would also see hardstands being replaced by a mix of housing (450 homes) and business premises. The intention is to keep the architecturally significant buildings and layout, along with the hangars, thus retaining the military atmosphere, developing it “in a way which respects its setting and former use“.*4 I only hope that the sympathetic approach is indeed used, and that this incredible and historic site does not become another of Britain’s matchbox towns.
Post Script:
A website dedicated to RAF Upwood shows a range of older photographs, squadron details and information about Upwood’s history. Created by Sean Edwards, it is well worth a visit for more specific details.
A local gentleman has purchased a scrapped Canberra nose section that once flew from Upwood, and has rebuilt it. It remains in his garage and is displayed at shows around the country.
Sources and further reading.
National Archives – AIR 27/379/4
National Archives – AIR-27-961-4
BAE Systems Website
*1 Photo from the UK Archives, (https://www.flickr.com/photos/nationalarchives) no known copyright restrictions.
*2 Josepf Jakobs story can be read on the: Josef Jakobs blog with further information on the Upwood Website.
*3 Middlebrook, M & Everitt, C. “The Bomber Command War Diaries 1939-1945“, Midland Publishing (1996)
*4 Huntingdonshire District Council Local Plan Proposal
*5 Lochailort Investments Ltd, Webiste.
Thirsk, I., “de Havilland Mosquito an illustrated History – Vol 2” Crecy publishing (2006)
For more information and details of the Pathfinders, see the excellent RAF Pathfinders Archive at: https://raf-pathfinders.com/