In part two of this Trail, we continue looking at the history of RAF Martlesham Heath.
RAF Martlesham Heath (Station 369).
On August 15th 1944, two P-47s flying more than 200 miles off course mistakenly attacked the Ninth Air Force headquarters near to Laval. In the attack, ground gun crews managed to bring down one of the aircraft killing its pilot. The second aircraft managed to avoid the anti-aircraft fire and returned home safely.
For three days in September, the 356th attacked enemy gun emplacements at Arnhem, earning themselves a DUC for their actions. These aircraft had the unenviable task of attacking the gun emplacements defending the allied drop zones. In order to neutralise the guns, the pilots first had to find them, a move that involved presenting themselves as bait. They proved their worth, bombing and strafing with 260lb fragmentation bombs, destroying all but two of the guns.
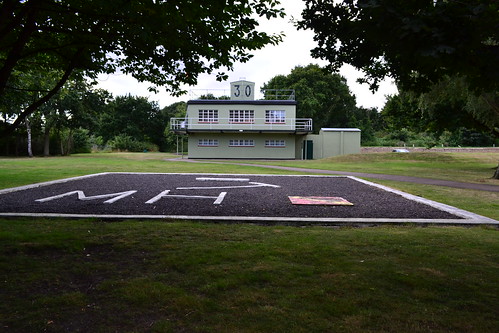
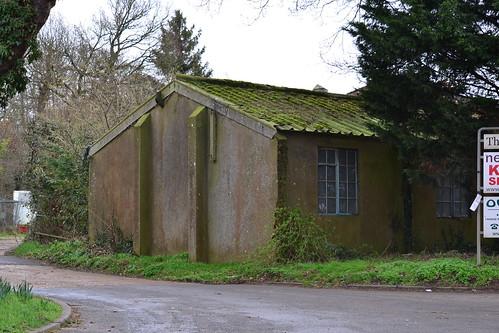
Martlesham Heath’s Watch Office now a museum surrounded by housing.
In November 1944 the P-47s were replaced by the P-51 ‘Mustangs’, the delight of the USAAF Fighter Groups. Early successes were good, even though they were tainted with repeated and wide-spread gun jamming.
The winter of 1944-45 was notoriously bad, one of the worst on record and many flights were cancelled at the last-minute. Maintenance on open airfields was incredibly difficult and accidents increased because of cloud, ice and snow. In mid January, five P-51s were lost, crashing on snow packed runways, being lost in cloud or suffering from taxiing accidents. By now though the war had turned and the blue and red chequered nosed fighters of the USAAF had turned to hunters and were eager for blood.
By now, Luftwaffe jets had now been in service for some time, harassing bombing formations, diving in amongst them, firing and then fleeing. Three P-51s of the 356th had the good fortune to catch an Arado-234 in the Bielefield area. After the pilot bailed out, they flew along side photographing the aircraft before finally shooting it down. It was one of a number that day that were lost to American airmen.
As the war ended the 356th had seen only eighteen months of active service, a short time that had allowed them to amass 276.5 kills in the air. Whilst being the lowest ‘score’ in the US Air Force, it doesn’t detract from the determination nor the skill of the brave pilots who flew with the 356th.
After the war’s end, the Americans departed and in November 1945, Martlesham Heath was returned to RAF ownership.
In 1946, experimental units returned with the forming of the Armament and Instrument Experimental Unit. Over the next few years they would go through several changes of name , but in essence retained their primary role. During this period, they would operate a small number of aircraft including amongst them: Mosquito NF38 (VT654); Meteor F4 (VW308); Lincoln B1 (RE242); Canberra T4 (WE189) and Comet 3B (XP915).
On November 1st 1949, the Bomb Ballistic Unit (formed May 1944 at Woodbridge) and Blind Landing Experimental Units (formed October 1945 also at Woodbridge) were amalgamated, forming one complete unit (the Bomb Ballistic and Blind Landing Experimental Unit) here at Martlesham Heath. They each operated a number of twin and four engined aircraft that would be absorbed into the Armament and Instrument Experimental Unit 15 days later. On November 1st 1955 RAF control of the unit ceased, and it was re-branded Armament and Instrument Experimental Establishment, whereupon it ran until 1st July 1957, when it was disbanded and absorbed into the Royal Aircraft Establishment.
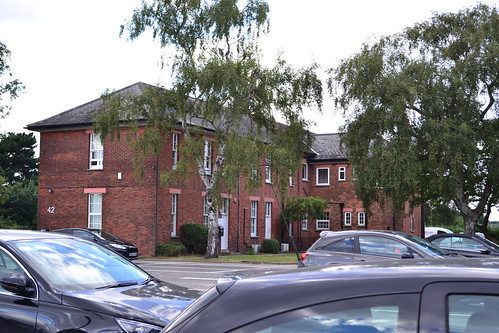
A number of the ‘H’ blocks have been given a new lease of life as office blocks. The parade ground, the car park.
With little operationally occurring at Martlesham, its decline was inevitable. Between 15th April 1958, and New Years Eve 1960, 11 Group Communications Flight operated: two Ansons (TX193 & WB453); a Devon (VP974); a Meteor T7 (WL378) and Chipmunk T.10 (WG465). Following their disbandment the only other flying units to use Martlesham were the then Hurricane and four Spitfires of the Battle of Britain Flight (now the legendary Battle of Britain Memorial Flight based at RAF Coningsby) between 1958 and 1961. The 612 Glider School also used the site between September 1952 and May 1963, whereupon they disbanded and the airfield then closed. Remaining intact, the airfield would continue to be used but for light private flying only, until this also finally ceased in 1979.
Following its closure, Martlesham Heath’s 600 acres were handed over to the Bradford Property Trust following the reversion of the lease from the Air Ministry, and because of its location to both the larger town of Ipswich and the major sea port at Felixstowe, it was destined for development. It was declared by the new owners that Martlesham would become a ‘village’, rather than a traditional ‘housing estate’ in which the concept of small groups of housing would be built, often around a cul-de-sac rather than in rows, thus promoting a ‘community spirit’ within each segment of the development. Planning permission was granted in 1973, ten years after the Ministry sold it off, the development was finally completed in 1990.*2
On its completion Martlesham was designated a village, and since then the original 3,500 population has grown, in 2011, the Martlesham Neighbourhood Development Plan stated the population of the Parish at 5,478.
Today Martlesham Heath is a thriving mix of private housing, industrial and retail units, reflecting this ‘Garden Village’ design. Two major employers soon moved in: the British Telecom Research Centre and Suffolk County Police – forming their headquarters on this and the adjacent land.
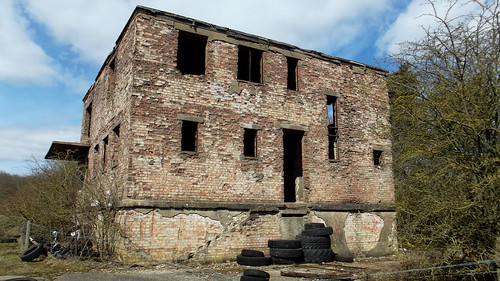
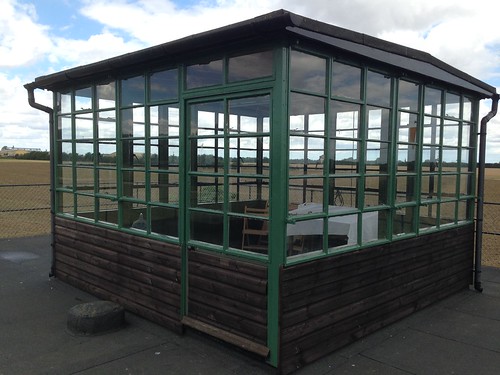
Beneath all this development though, elements of the ‘Heath’ do still exist, largely due to the good foresight of the developers. The parade ground (now a car park), the barrack ’H’ blocks (like West Malling are office blocks), the watch office, messes, hangars and RAF workshops all transformed into light industrial units which remain in use today.
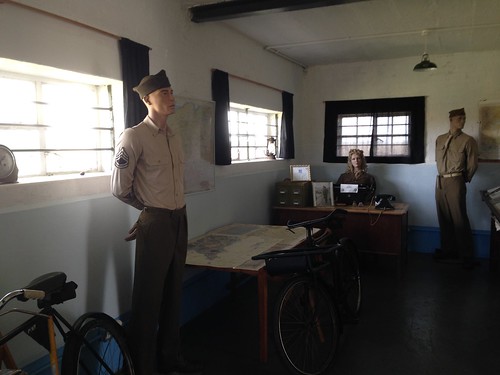
In 1982, local people set on preserving the heritage of Martlesham Heath created the Martlesham Heath Aviation Society, and were allowed to set up their home in the former watch office. After raising funds, the office was refurbished and turned into a museum displaying many artefacts, stories and photographs of Martlesham’s history. The museum finally opened in 2000 and remains there today encircled by housing on all four sides. The spirit of Martlesham Heath also lives on in the road names. Even the Douglas Bader pub has a tenuous link to this historic place.
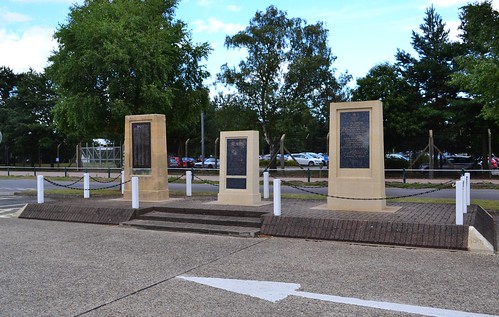
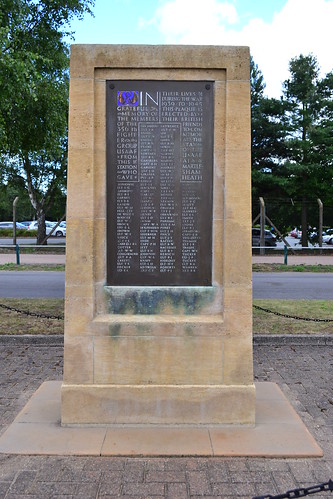
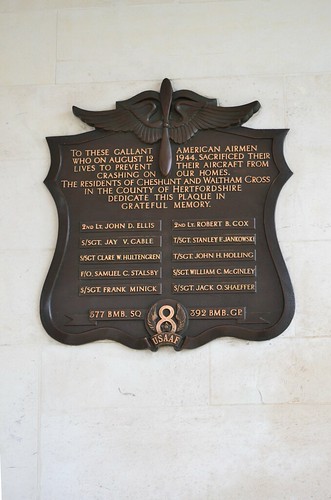
The memorials to those who served at Martlesham Heath during its long and distinguished career.
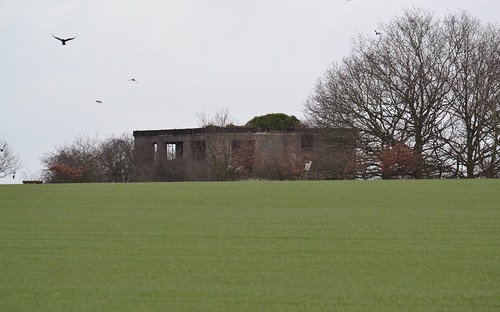
Viewing the airfield remains are relatively easy as most are visible and accessible from the public highway. Finding them is another matter. The design of the streets are such that there are many paths and small side streets and ‘getting lost’ is quite easy for the visitor. The main A12 road through Martlesham dissects the airfield site in two. The museum is to the west off Eagles way, surrounded by housing – an odd remnant of a bygone era. What little remains of the runway can be seen further south off Dobbs lane, in an area of heath and scrub – a lingering reminder of this once historic airfield, how long I wonder, before this too is removed.
The hangars and barrack blocks are to the eastern side, mostly among the retail park. The three memorials are located on Barrack Road opposite the BT building and alongside the former parade ground and ‘H’ blocks.
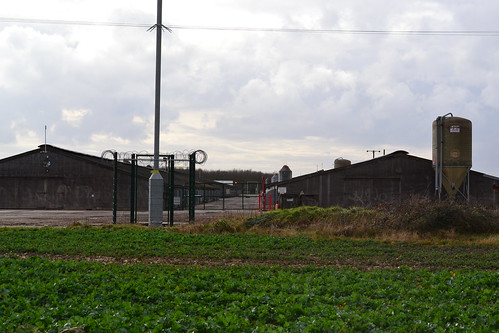
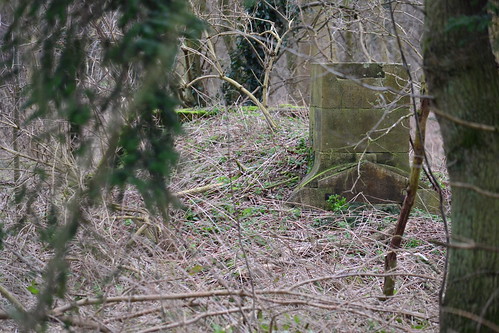
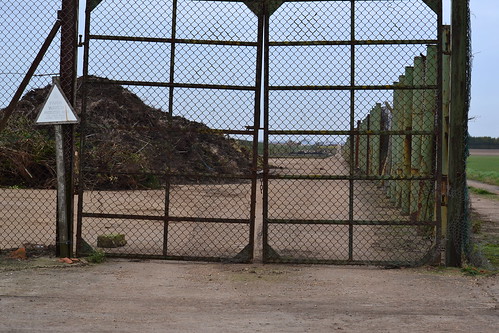
Now listed locally and with Suffolk Coastal District Council, many of the remaining but obscure remnants (airfield markers, hangar foundations, revetments, and the last remains of the runway) all lie dormant amongst the footpaths, cycle tracks and parks of the huge Martlesham Heath conurbation that was once RAF Martlesham Heath.
Notes and further reading
*2 Ward, S.V., The Garden City, past, Present and Future, 1992, Spon Press