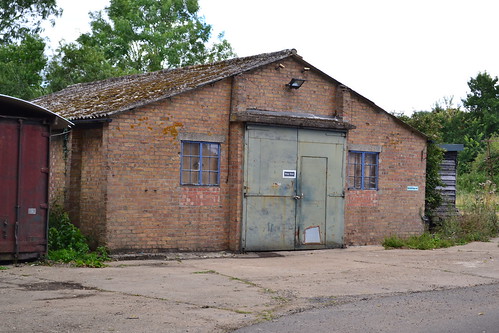
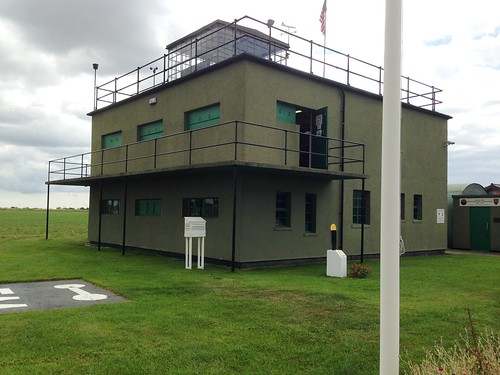
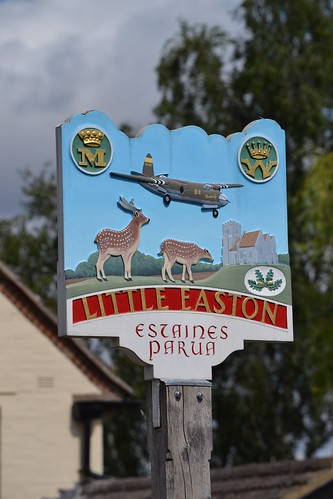
RAF Methwold was a small airfield that was never intended to be a major player in the Second World War, yet it would see some remarkable achievements performed by the people who were stationed there.
Once such notable person was Squadron Leader Leonard Trent V.C., who, on 3rd May 1943, took a squadron of Lockheed Venturas on a ‘Ramrod’ Mission to attack an electricity power station on the northern side of Amsterdam.
As part of a larger attack, it would not be a mission central to Bomber Command’s overall bombing strategy, but more a mission of support and encouragement to the resistance fighters bravely fighting in occupied Holland.
Trent (N.Z.248i), born in Nelson, New Zealand on 14th April 1915, achieved his wings with the RNZAF in Christchurch in May 1938, a month before sailing to England and a role with the Royal Air Force.
At the outbreak of war he was sent with No. 15 Squadron flying Fairy Battles, to France to carry out photo-reconnaissance sorties over occupied territory. The squadron then moved back to England (RAF Wyton) and changed their Fairy Battles for Bristol Blenheim IVs.
After carrying out a number of low-level attacks, he was awarded a DFC for his part in the air war over Belgium, after which he became a flying instructor for RAF crews.

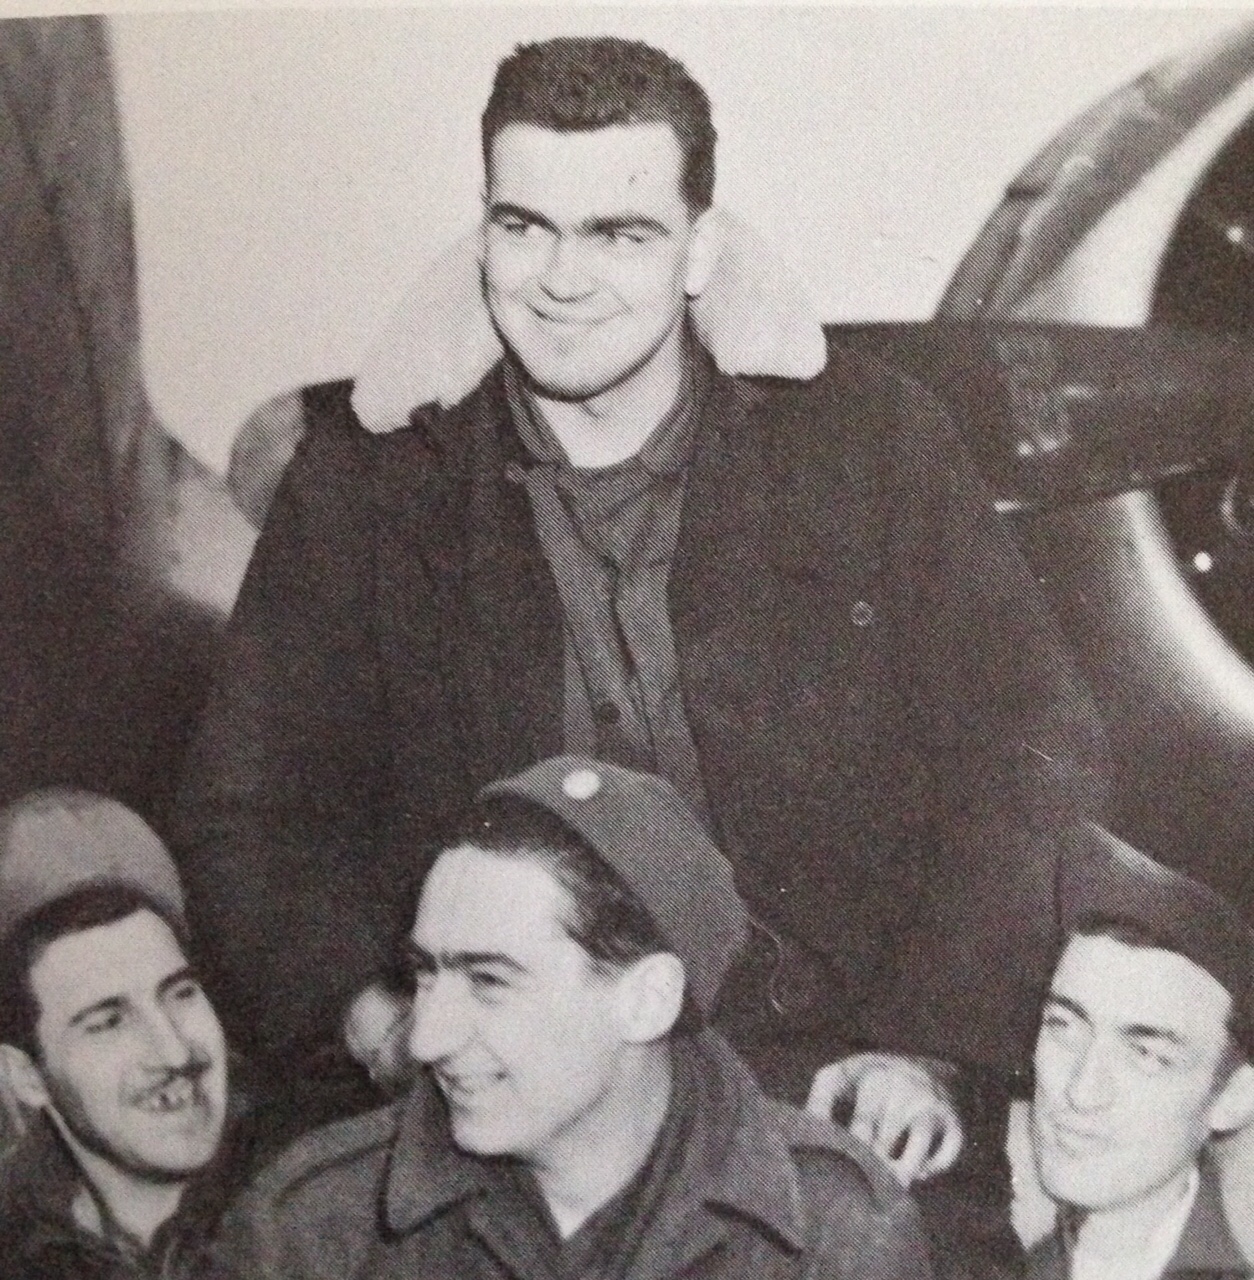
Wing Commander G J “Chopper” Grindell (centre), Commanding Officer of No. 487 Squadron RNZAF, with his two flight commanders in front of a Lockheed Ventura at Methwold, Norfolk. On his left is the ‘A’ Flight commander, Squadron Leader T Turnbull, and on his right is the commander of ‘B’ Flight, Squadron Leader L H Trent. (IWM)*1
In 1942 he returned to operational duties as a newly promoted Squadron Leader taking command of B Flight, 487 (NZ) Squadron at Feltwell. At the time 487 were part of No. 2 Group and were in the process of replacing their Blenheims with Venturas. The squadron moved from Feltwell to Methwold in early April 1943. Little did they know that only a month later, the Squadron’s Operations Record Book would read: “This is a very black day in the Squadron history…a better set of boys could not be met in 30 years. Everybody is still feeling dazed by the news.”
As an experienced pilot Trent would fly several low-level missions over the low countries, using an aircraft that was originally designed around a small passenger aircraft back in the United States. Whilst having powerful engines, Venturas suffered from poor manoeuvrability and a heavy air frame, these two failings combined with its rather ‘fat’ appearance, earned it the name “flying pig”.
Loses in Ventura operations would be high, and this was reflected nowhere else than on the very mission that Trent would fly on May 3rd 1943.
On that day fourteen Venturas of 487 Sqn were detailed to attack a target in Amsterdam, however only twelve aircraft actually took off, all at 16:43 from RAF Methwold. These aircraft were all part of a much wider operation, one that would involve an escort of nine RAF fighter squadrons. Timing was therefore crucial, as was low-level flying and maintaining the element of surprise. Within five minutes of their departure though, ‘EG-Q’ piloted by Sgt. A. Baker, would return after losing the crew escape hatch. This left eleven aircraft to carry on to the target.
A diversionary attack carried out by aircraft of 12 Group flying ahead of the main formation flew in too high, too soon, thus losing the surprise and alerting the defenders of the impending attack. Caught out by low fuel, many of the escorting fighters had to then leave thus reducing the overall effectiveness of the defensive escorting force. The Luftwaffe, now ready and waiting, had scrambled numerous fighters, a deadly cocktail of FW-190s and Bf-109s. The squadron record book reports an estimated “80+ ” enemy aircraft in the locality of the attacking Venturas.
From this point on things went very badly for 487 Sqn.
As they crossed the Dutch coast Ventura ‘AJ478’ (EG-A) was attacked and shot down by Luftwaffe fighters. Ditching in the sea the crew took to a life raft where Sgt. T Warner, injured in the attack, died of his injuries. Committing his body to the sea the remaining three would be captured and become prisoners of war. Warner’s body would wash up two days later on a Dutch beach and be buried in the small town of Bergen op Zoom – all four were from New Zealand.
A second aircraft, ‘AE916’ (EG-C) was also very badly shot up by the pouncing fighters. However, it managed to return to England landing at their former base RAF Feltwell. The pilot and navigator were both unhurt, but the wireless operator and air gunner were both badly wounded, and were immediately taken directly the RAF hospital at Ely, Cambridgeshire. The aircraft was so badly damaged in the attack that it was written off. For their actions the pilot (F/Lt. Duffill) and navigator (F.O. Starkie) were both awarded the DFC, whilst the wireless operator (Sgt. Turnbull) and gunner (Sgt. Neill) the DFM. Dufill later went on to become the managing director of Humbrol paints, a company renowned for its paint and modelling supplies.
Pressing on to the target, the casualties got worse and the loss rate increased.
Firstly, Ventura ‘AE684’ (EG-B) was shot down at 17:45 near Bennebroek with the loss of two; at the same time ‘AE731’ (EG-O) was shot down just north of Vijfhuizen, three crewmen were captured but the fourth, Sgt. Tatam, died. Five minutes later at 17:50, ‘AE780’ (EG-S) was lost, with only one crew member surviving – the aircraft crashing into the suburbs of Amsterdam. Within three more minutes, a fourth aircraft of this group would go down; ‘AE713’ (EG-T) was hit, also causing it to crash in the northern suburbs of Amsterdam, this time killing all on board. By 18:00 there were only two of the eleven aircraft left, ‘AJ209’ (EG-V) flown by Squadron Leader Leonard Trent, and ‘AE716’ (EG-U) flown by F.O. T. Baynton.
Baynton’s aircraft, ‘EG-U’, would then be shot down by fighters causing it to crash in the outskirts of Amsterdam, also killing all four on board. Squadron Leader Trent, seeing all around him fall from the sky, pressed on. Flying toward the target he dropped his bombs and then turned away. Trent bravely and coolly defended his aircraft, shooting down a Bf-109 with his forward facing guns. Shortly after, he too was hit, the aircraft badly damaged, spiralled earthward uncontrollably, breaking up as it did so, throwing both Trent and his navigator F.L. V. Philips, out of the falling wreckage.
Both Trent and Philips were later captured and taken prisoner, the other two crew members; F.O. R. Thomas and Sgt. G. Trenery, both lost their lives in the crash.
One further aircraft, ‘AJ200’ (EG-G) piloted by New Zealander Sgt. J Sharp was thought to crash 3 km west of Schiphol, with only Sharp surviving; whilst the remaining two unaccounted aircraft, ‘AE956’ (EG-H) and ‘AE 798’ (EG-D), were lost over the sea on the way to the target. All eight crewmen were presumed killed, two of them being washed up several days later on the Dutch coast. The remainder were never heard from again.
In the space of only a few minutes, eleven aircraft had been attacked and ten shot down with the loss of 28 young RAF lives.
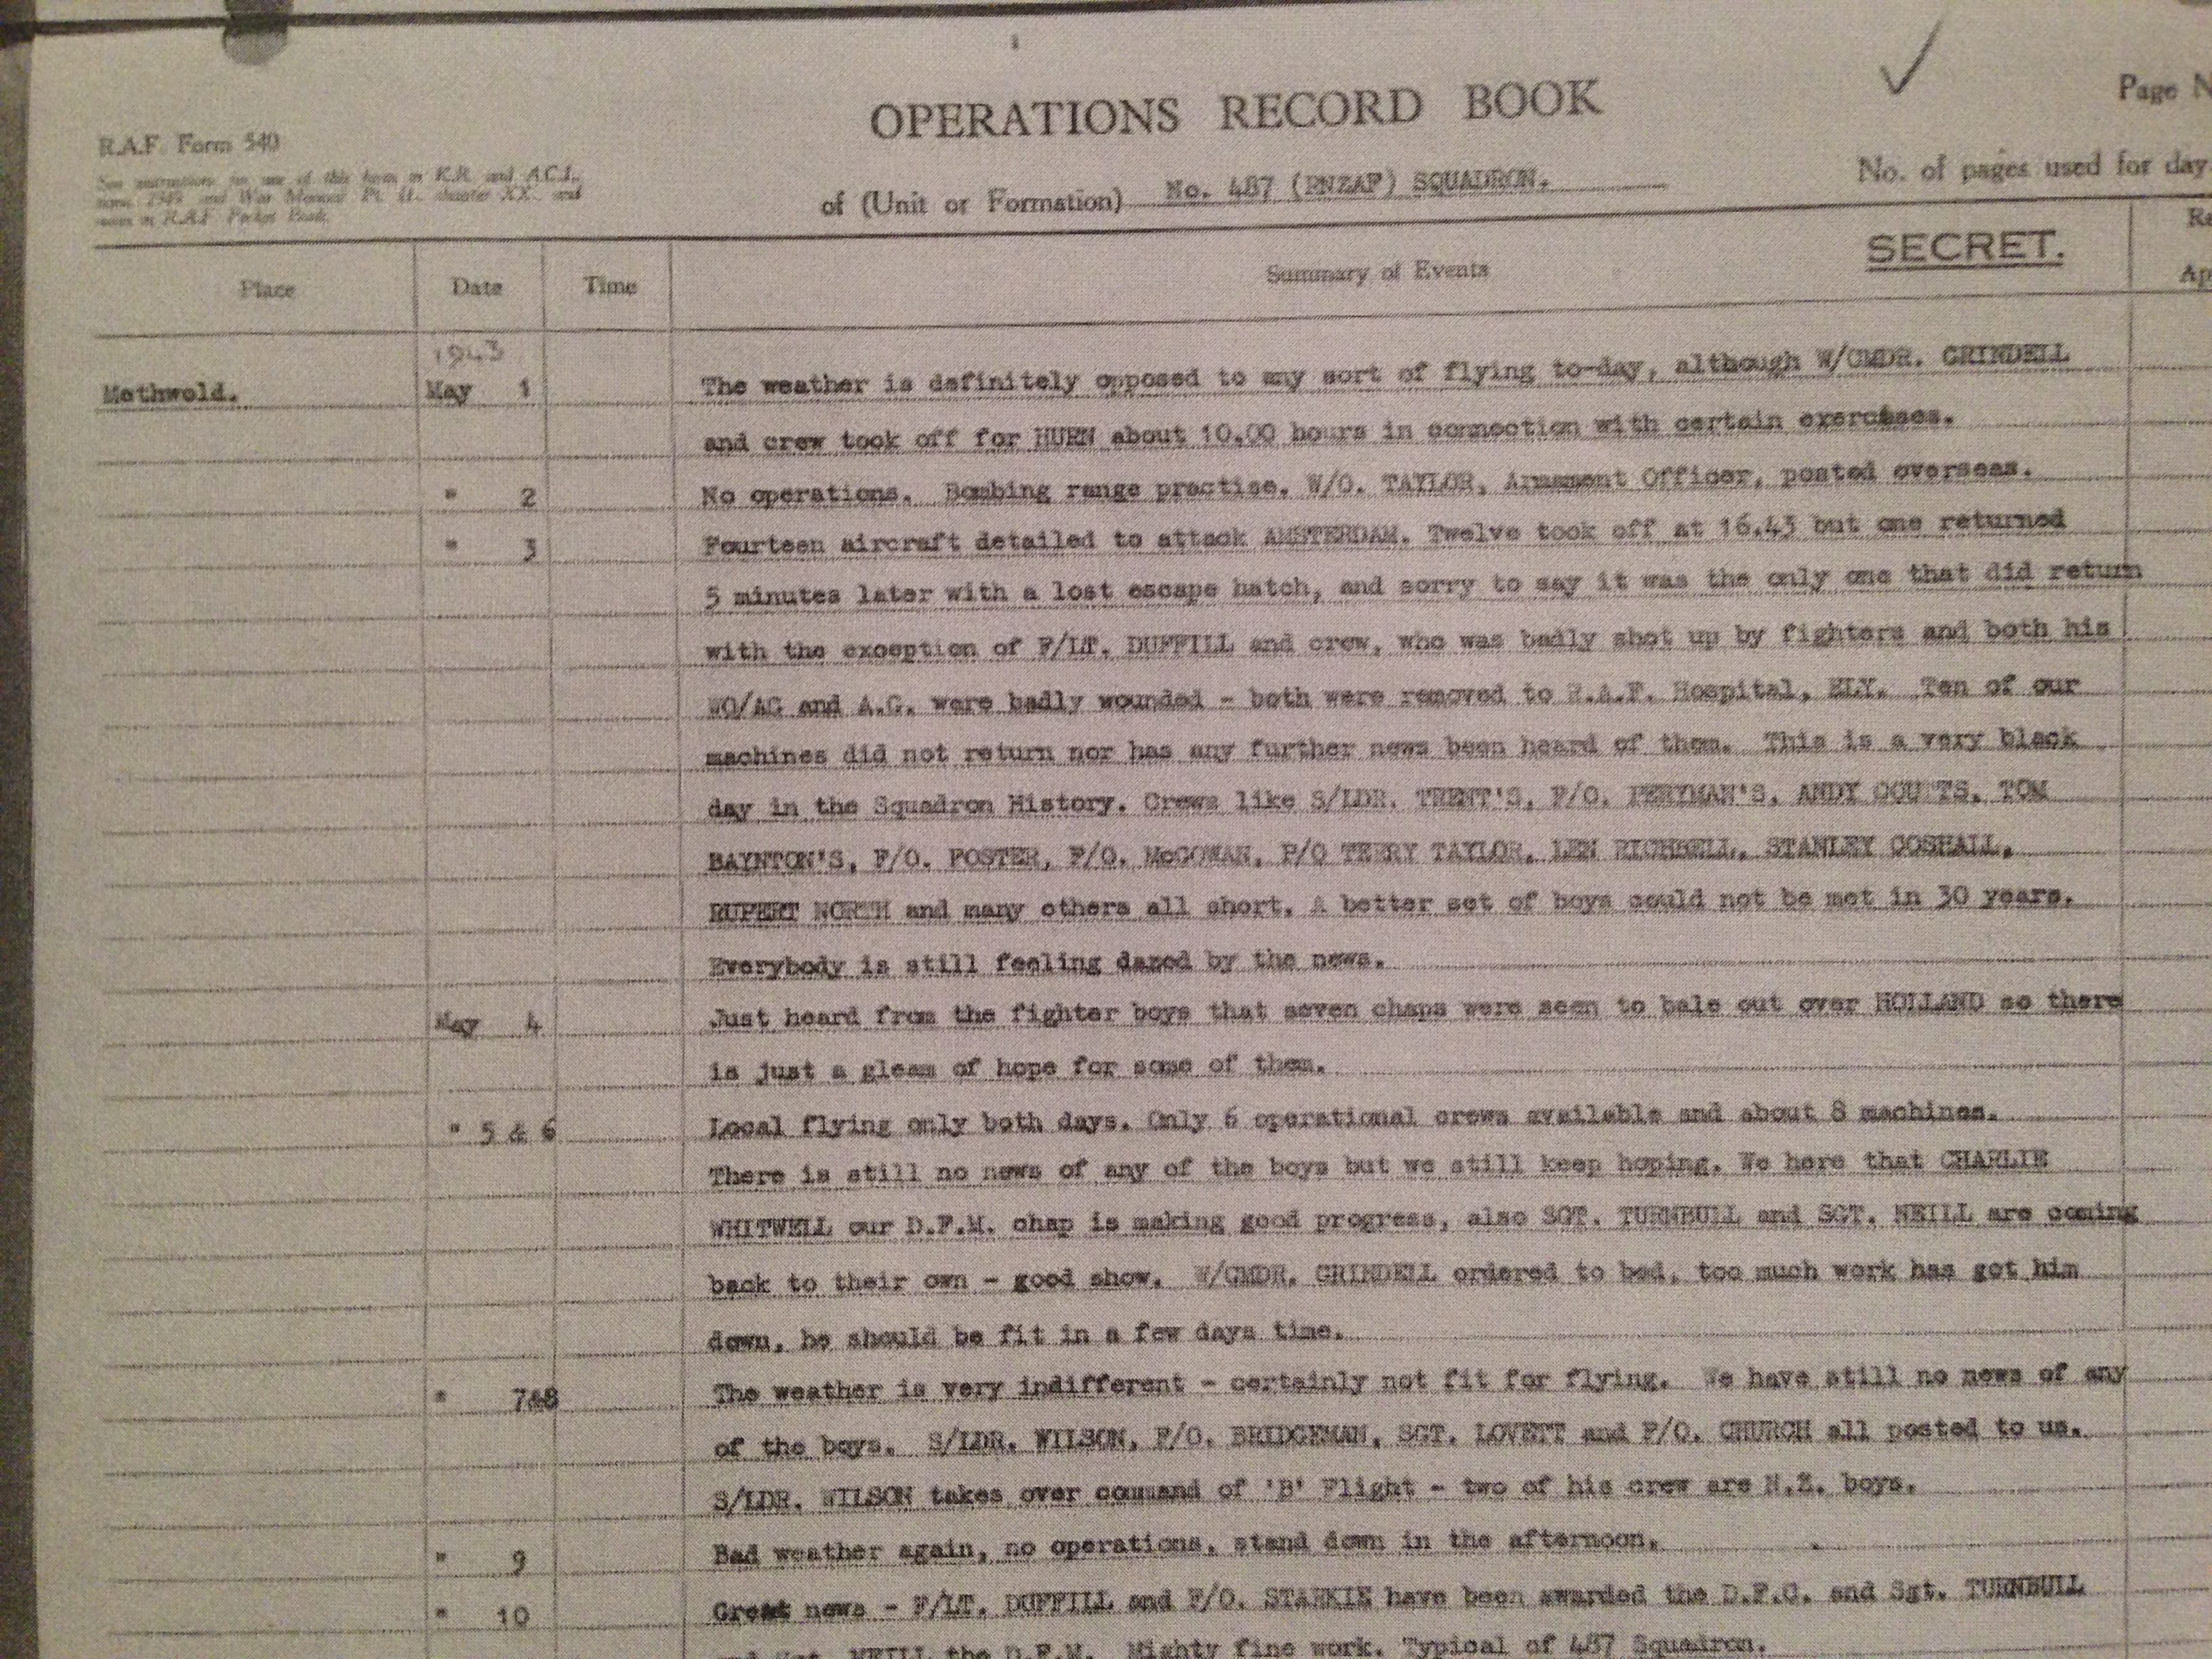
The Operations Record Book for May 3rd 1943, shows the depth of feeling felt by the crews at Methwold following the disastrous mission. (Crown Copyright*2)
Trent spent the remainder of the war in Stalag Luft III where he participated in the ‘Great Escape‘. Only on his eventual return to England did the full and disastrous story of what had happened come out. He was awarded the Victoria Cross for his leadership in ensuring the bomb run was completed despite heavy enemy resistance and very high losses. The London Gazette published his citation on Friday 1st March 1946, in the Third Supplement which said:
“Before taking off, Squadron Leader Trent told the deputy leader that he was going over the target, whatever ‘happened…”
It later went on to say…
“On this, his 24th sortie, Squadron Leader Trent showed outstanding leadership. Such was the trust placed in this gallant officer that the other pilots followed him unwaveringly. His cool, unflinching courage and devotion to duty in the face of overwhelming odds, rank with the finest examples of these virtues.” *3
A determined attack, it was flawed from the moment the preceding force were spotted. The Venturas, woefully inadequate and unprotected, were literary cut down from the sky. Fighters escorting the Venturas confirmed seeing seven parachutes from the aircraft, but the scale of the loss was a blow so devastating, it left only six operational crews in the entire squadron.
For many days after, the Operational Record Books indicated “no news of the boys“, and as new crews and aircraft arrived, prayers for their return faded, but hopes for a return to operational status rose. Following a number of training flights, the next operational mission would finally take place on May 23rd, a mission that was a total success, and one that must have boosted the morale of the squadron immensely.
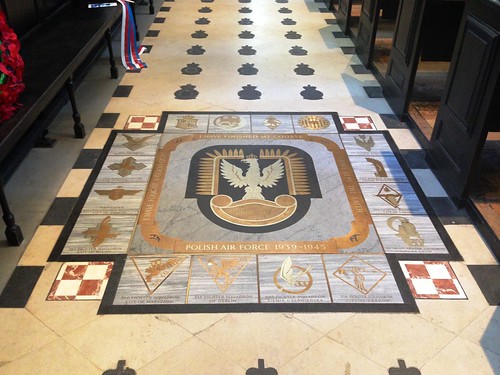
This mission was a disaster for the Royal Air Force and for Methwold in particular. The loss of life dealt a huge blow to the community both on, and around the base. In memory of these gallant young men, many of whom were never found, their names are inscribed on the Runnymede memorial, whilst those whose bodies were recovered, remain scattered in various graves across the Dutch countryside.
May their memories live for evermore.
RAF Methwold appears in Trail 8.
Sources and further reading.
*1 Photo source The Imperial War Museum Collections
*2 AIR\27\1935\13
*3 The London Gazette: (Supplement) no. 37486. p. 1179. 26 February 1946. Retrieved 29th January 2017
AIR\27\1935\13 – Operational Records Book (summary), The National Archives
AIR\27\1935\14 – Operational Records Book (work carried out), The National Archives
Chorley, W.R., Bomber Command Losses, 1943, Midland Counties, 1996