As part of Trail 10, we revisit the first Norfolk airfield opened as a heavy bomber base for the USAAF. It is an airfield that lives on – just – and was the home to only one major bomb group. This group led the way for the B-24, they took heavy loses and bore the brunt of B-17 jokes. Their loses were so high that unofficially, they became the ‘Jinx Squadron’.
In this Trail, we go to RAF Shipdham otherwise known as Station 115.
RAF Shipdham (Station 115)
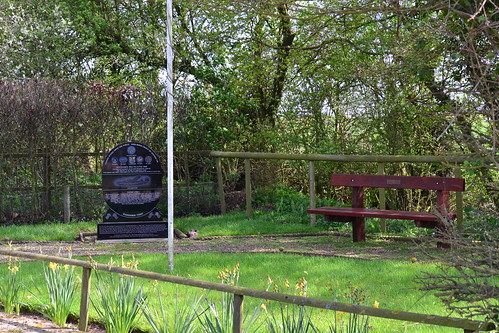
On leaving Watton, we travel north-east across the countryside to the small village of Shipdham, some 3.5 miles south of East Dereham. If you miss the turn, you will pass along the main road and a row of memorial trees dedicated to the parishioners of Shipdham who died in both World Wars. A list of those concerned is on a large board placed adjacent to the road. Turn back, return towards the village and take the left turn toward the airfield site. Opened in 1942, it was the first airfield to receive the Mighty 8th, who named it Station 115.
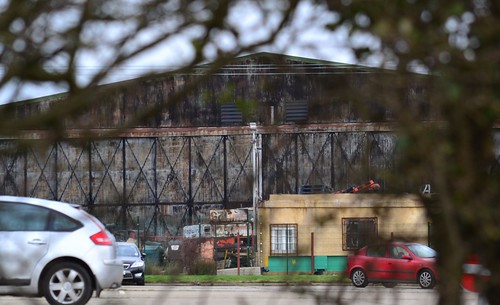
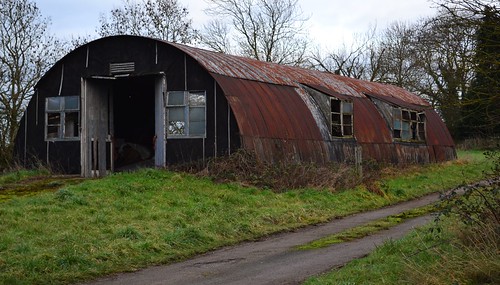
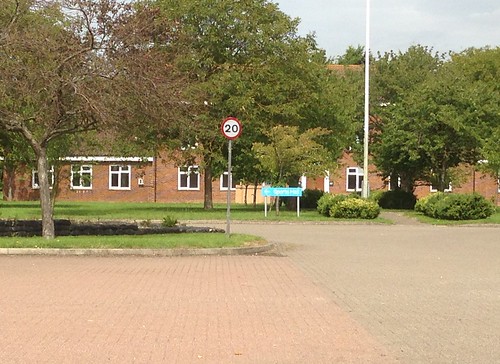
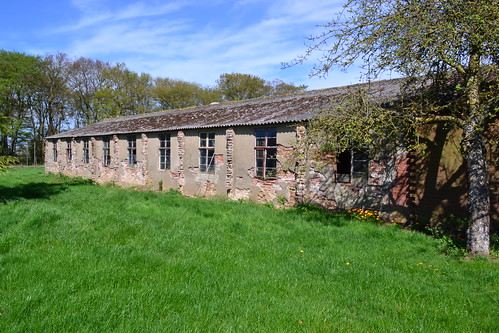
One of Shipdham’s remaining Hangars.
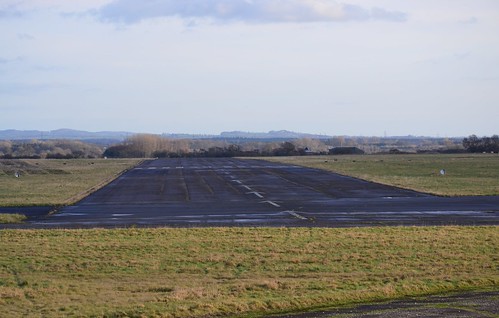
Shipdham was built during the period 1941-42 and opened as the first US heavy bomber airfield in Norfolk. It was built as a Class A airfield having three concrete runways, one of 2,000 yards, and two of 1,400 yards, each 50 yards wide. A standard perimeter track linked all three runways, the main one of which ran east-west.
The technical and administrative area was located in the south-eastern corner, the bombs store to the south-west, and the accommodation areas dispersed off to the south, unusually, between the two aforementioned sites. There were initially 50 concrete hardstands, but this increased later on to 55 as the airfield was updated. The majority of these hardstands (37) were the single pan style, whilst the remainder were the dual spectacle style.
Accommodation was built for around 3,000 personnel using a range of temporary buildings over nine different sites, with a further two sites, both sewage works, and a wireless transmitter site, also being located here . Shipdham unusually had three communal sites, two male and a WAAF, and many buildings were temporary in nature: Laing, Nissen, Thorn and some Hall huts. A further number of buildings were brick with both temporary and permanent designs in use.
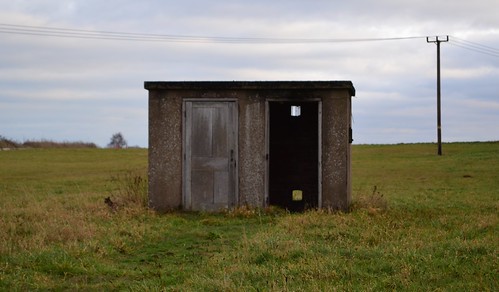
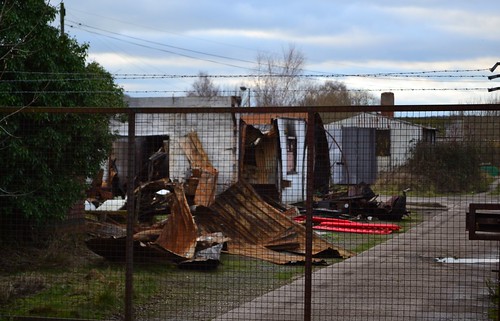
The Watch Office (built to drawing 8936/40) was part timber and part concrete, a deviation from drawing 2423/40, and still stood, albeit in a very poor condition, at the time of visiting.
The first group to arrive here were the 319th BG, a group made up of twin-engined B-26 ‘Marauders’, who flew across the northern route of the Atlantic during September 1942. Their trip across was hazardous, many aircraft suffering as a result of the cold and closing winter months. Sent to Shipdham to begin training operations, they only remained here for around one month, being moved to RAF Horsham St. Faith in October, and with it vacating Shipdham for good. In their place came the main resident unit, the 44th BG known as the ‘Flying Eight Balls‘ bringing with them the mighty B-24 Liberators.

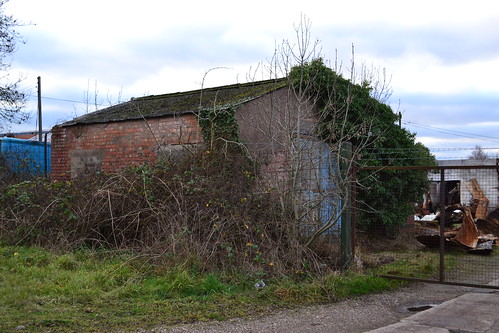
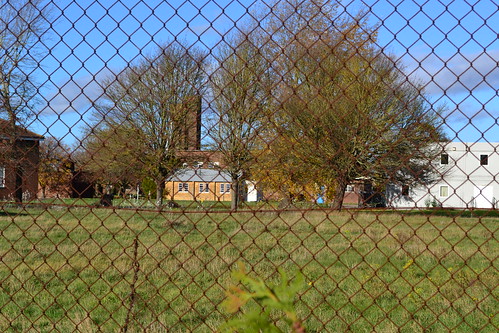
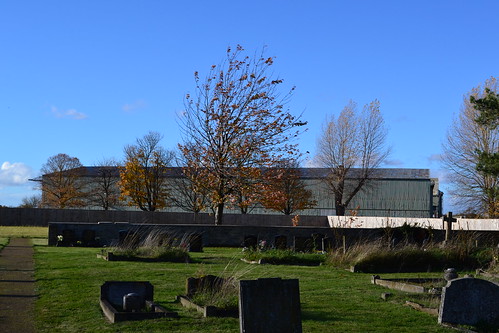
Shipdham’s Watch Office sites amongst the cranes and industrial buildings. (Just below the two cranes)
Activated on January 15th 1941, they were the USAAF’s first Liberator unit, becoming an operational training unit in February 1942, carrying out anti-submarine duties before making preparations for the European theatre. They moved from MacDill Field in Florida to Barkdale Field, Louisiana, and then onto Will Rogers Field in Oklahoma before setting off for England in October 1942. The three squadrons of the 44th, the 66th, 67th and 68th BS, were finally provided with aircraft and a full complement of aircrew at Will Rogers; however, this did not include the fourth and final squadron, the 404th BS, who were diverted to Alaska to protect the west coast against potential Japanese attacks. Being only three squadrons, the 44th BG would operate below full strength for almost six months until the replacement squadron, the 506th BS, would arrive. This weakened force would play its part in the 44th’s short and tragic history.
On September 4th, the ground echelons sailed on the Queen Mary, arriving in Scotland on the 11th. The first aircraft did not leave the US until later that same month, after which all personnel were gathered at their temporary base at Cheddington before moving off to Shipdham in October.
Once in England, the Liberators of the 44th were modified, flown to Langford Lodge, they were given scanning windows in the nose, the fitting of British IFF equipment, and improvement to the guns. The B-24s had been supplied with limiting ‘cans’ of ammunition rather than the much longer belt fed ammunition. Another adaptation at this point was the fitting of two .50 calibre machine guns in the nose, similar in style to those of the B-17.
On November 7th 1942, the ‘Flying Eight Balls‘ were put on limited combat status, with a small number of eight aircraft being sent on their first operational sortie. A diversionary flight, it was followed by four more sorties, of which only one involved any bombing at all. The 44th were not having a successful time though, the equipment they had been provided with was not protecting the crews from the extremely low temperatures found at high altitudes, several crewmen suffering from frostbite as a result.
By early December the last of the modified B-24s arrived back at Shipdham and the Group was back up to its three squadron strength. On the 6th December 1942, the group flew its first mission, a nineteen strong formation was sent to bomb the airfield at Abbeville-Drucat in France.
This mission would not go well. A diversionary attack, it would see the two squadrons the 66th and 67th called back, the abort signal did not however reach the 68th who unaware of the changes, carried on to the target. Being only six aircraft, they were woefully under protected, and after releasing their bombs over the target, were attacked by around thirty FW-190s. What resulted was devastating for the 68th, one aircraft was lost, Liberator #41-23786 piloted by 1st Lt. James Du Bard Jr. (s/n: 0-410225), along with its entire crew. Witness accounts from other crews say that as the aircraft went down, its guns continued to fire, the gunners of #786 staying at their respective stations even though their fate was sealed. As the pilot struggled to regain control and get the aircraft home, they managed to bring down two enemy aircraft before crashing into the sea themselves. For their actions and bravery, the entire crew were awarded the Silver Star.
In the attack on Abbeville-Drucat , every B-24 was hit by enemy cannon fire. Following a head on attack by fourteen FW-190s in waves of three or four, an exploding 20mm shell in the cockpit of ‘Victory Ship‘ #41-23813, badly injured both the pilot and co-pilot; but undeterred, 1st Lt. Walter Holmes Jr (s/n: 0-437615), managed to get home and land the aircraft even though he and his copilot, 2nd Lt. Robert Ager, were badly injured. For his brave action and determination to get home, he was awarded the first DFC for the group. Holmes would also go onto receive a DSC in the mission to Ploesti in August going on to complete his tour of duty later that same month.

A medical truck and ground personnel standby as B-24 Liberator #41-23813 “Victory Ship” returns from a mission. (IWM FRE 640)
A second attack to the same target was aborted, but during this mission one crewman suffered frostbite and had to have his arm amputated at the elbow. Then followed the third mission, and it proved just as disastrous for the 44th. A flight of 101 aircraft, a mix of B-17s and B-24s were sent to Romilly-sur-Seine, and of the 101 aircraft sent, only seventy-two made it to the target, the remainder being lost or aborting. From the 44th, only twelve of the twenty-one sent out made it through, and of these, one suffered a head on attack by a FW -190. The pilot Cap. Algene E. Key took evasive action but cannon shells ripped through the aircraft killing gunner S/Sgt. Hilmer Lund and seriously wounding two others. Key manged to fly the aircraft to the target and then home, even though it was badly damaged and difficult to fly. For his actions he was awarded the DSC.
The start of the war was not a good one for the 44th, many of those who came over were now in a state of shock, the extremely cold temperatures and determined fighters of the Luftwaffe both taking a toll on the crews. The early days of the 44th were difficult and the crews faced a very steep learning curve.
When the 44th’s sister group the 93rd BG departed for North Africa, the 44th’s three squadrons consisting of only nine aircraft each, accounted for the entire Liberator force in the European Theatre. Performance figures for the B-24s made it difficult to fly in tight formations, the faster speed of the B-24 also meant it ended up at the rear of the large formations and slightly higher. It was a difficult aircraft to fly and crews were finding it hard to maintain flight with the slower and lighter B-17s.
To counteract these problems they were given restricted fuel levels, a restriction that proved to be fatal on the January 3rd 1943 mission to St. Nazaire. With further aircraft aborting, only 8 aircraft reached the target and able to drop their bombs. On the way back, the leading B-17s took an incorrect heading, and the flight flew up the Irish Sea as opposed to crossing over southern England. Now desperately short of fuel they split up, searching for a safe haven. Some aircraft unable to locate an airfield, ran out of fuel, and had to land in fields with the expected results. Three crewmen were killed that day and seventeen were wounded, some dying later from injuries sustained in the crashes.
1943 had started as badly as 1942 had ended. Spirits were now low and over the next few weeks several aborted missions added to the misery of the 44th. With further losses in the few missions they flew, rumours spread of a ‘hard luck’ squadron, and questions were raised as to the suitability of the B-24 as a bomber. Things got so bad that the 67th was reduced to just three aircraft, with no sign of replacements of men or machine being delivered anytime soon.

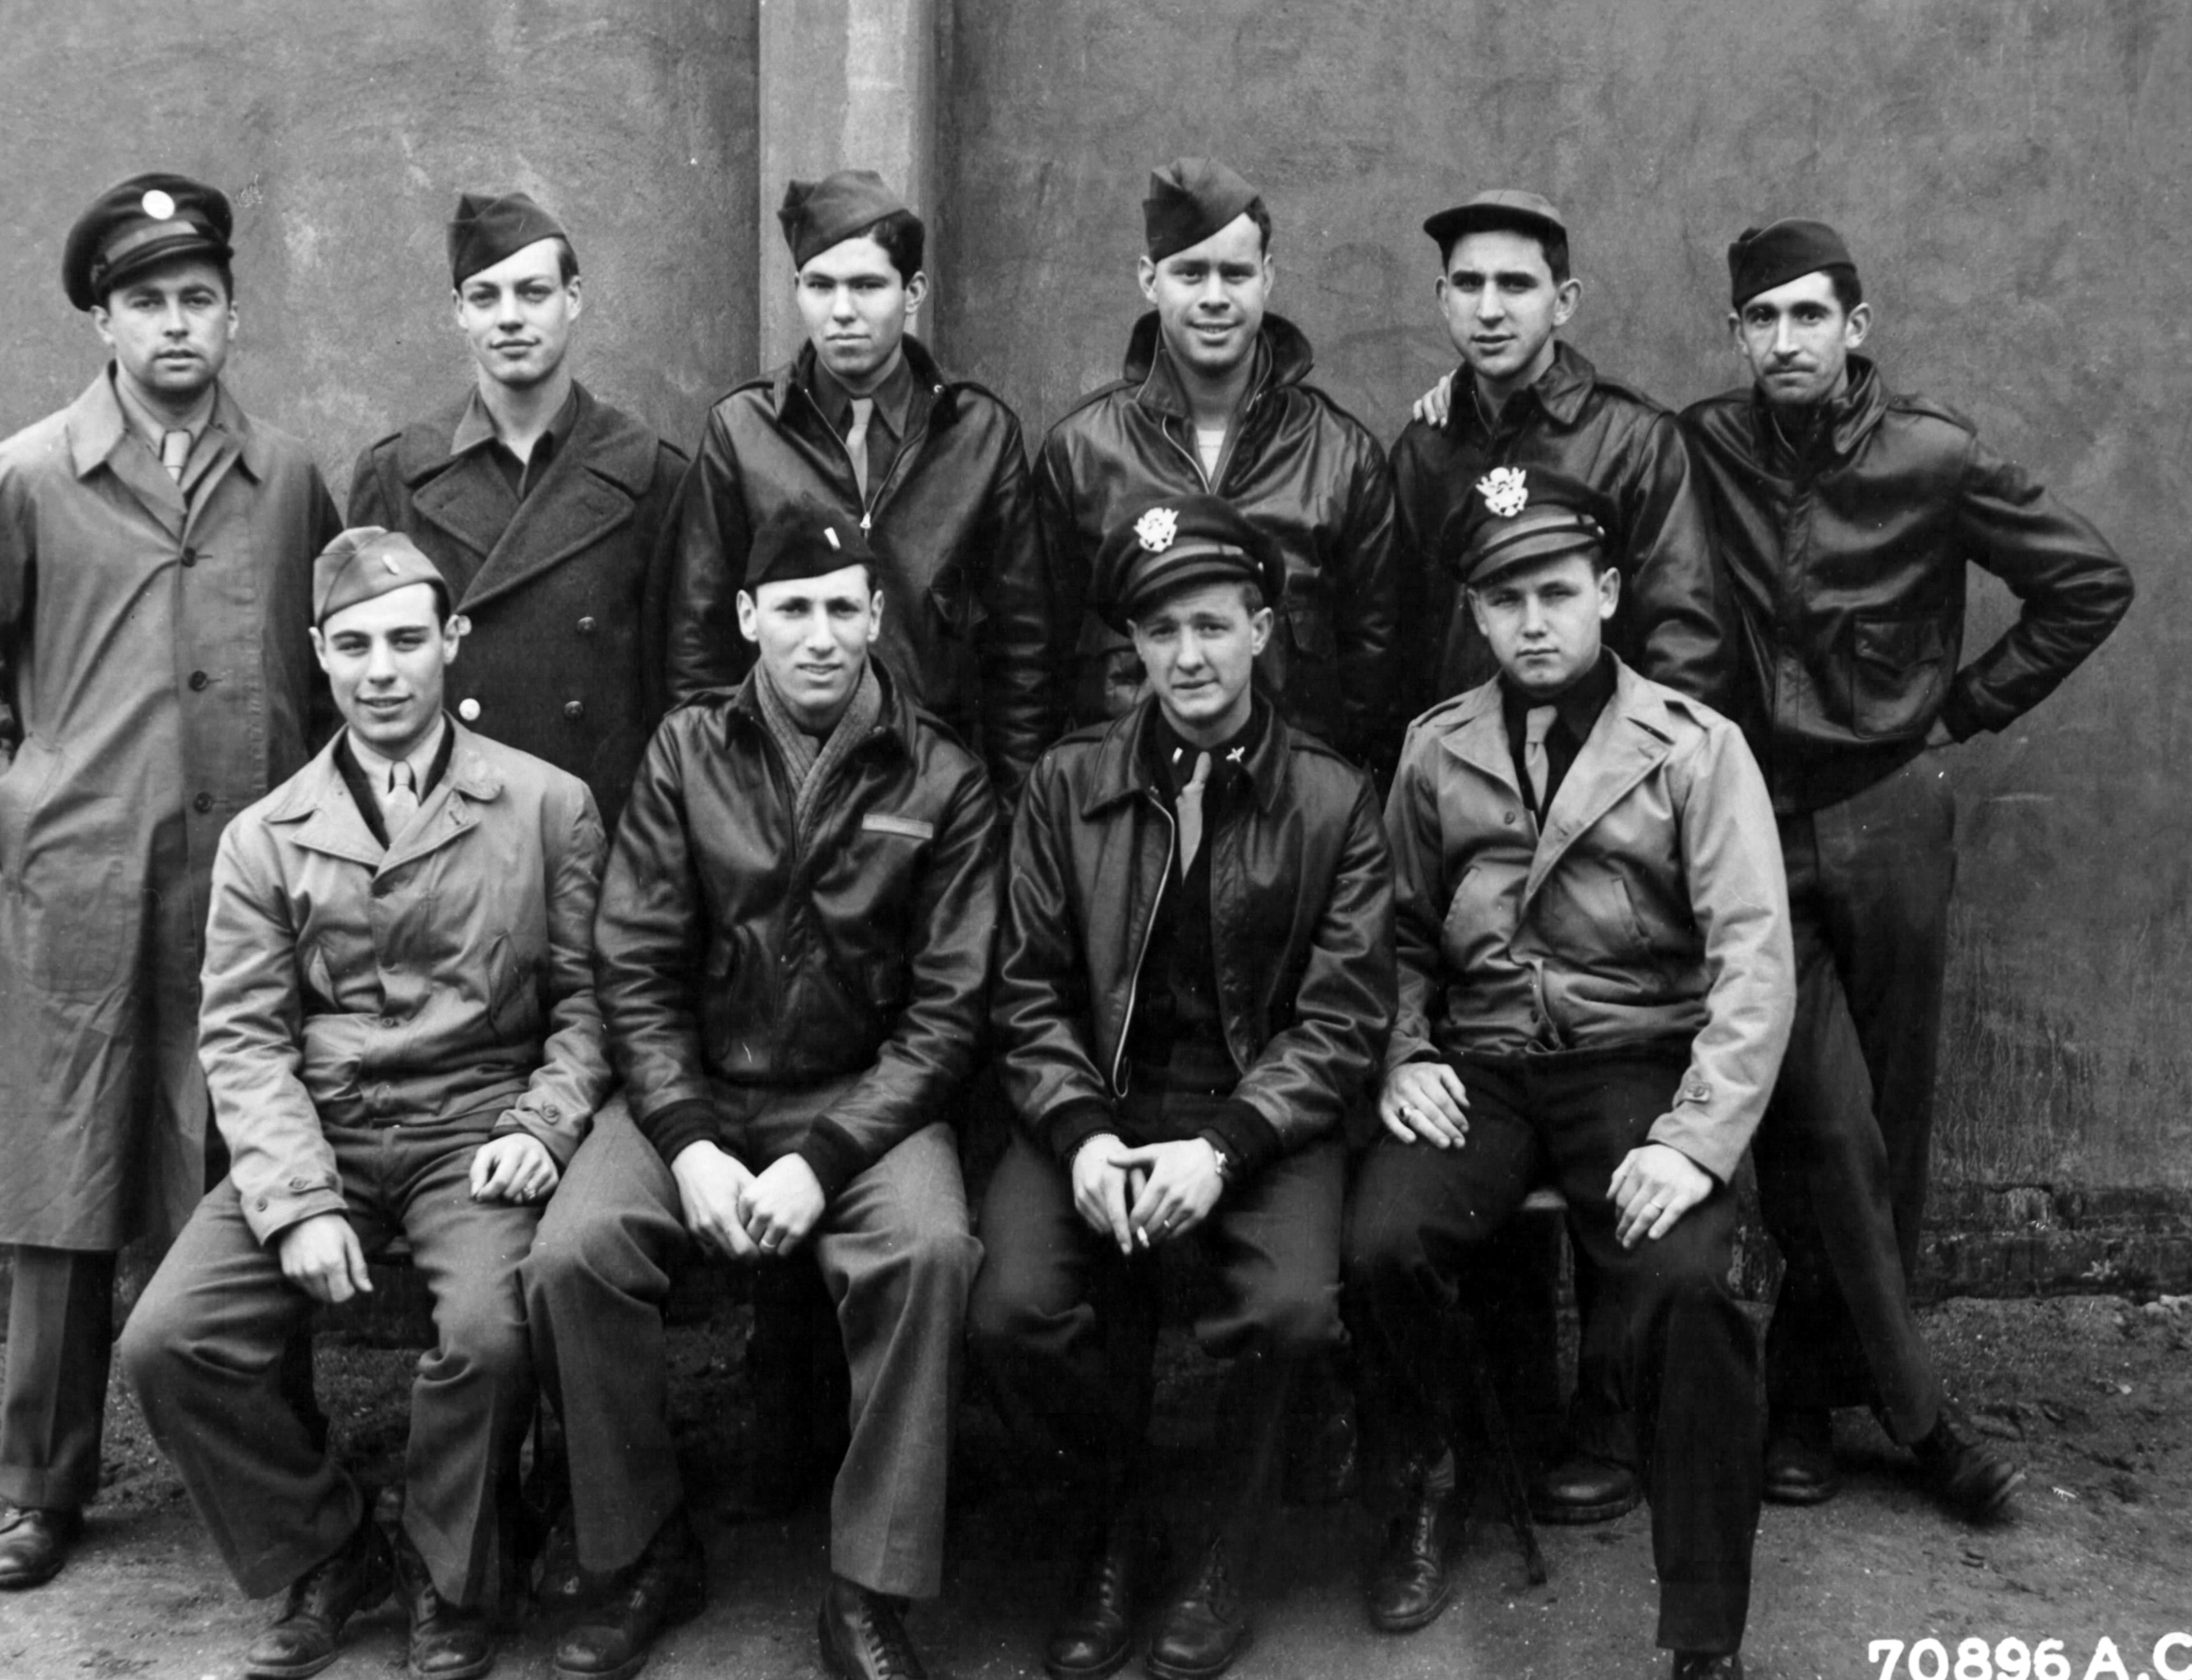
Relaxation time at the 67th BS accommodation site (IWM FRE 670)
Then came some good news, the fourth squadron the 506th, arrived in March 1943 raising the 44th to its full complement of four squadrons for the first time since leaving the United States. Manning these aircraft was going to be another challenge though, many of the gunners were ground crews retrained as aircrew, some were drafted in from other squadrons, often being crewmen who had ‘failed’ in their previous roles. The future didn’t look any better even with the full complement of staff.
The Eighth now looked toward night flying as a possibility, the 93rd, having returned from Africa, stopped flying in order to train in their new role, leaving the 44th to ‘carry the can’ once more. Reduced to diversionary raids, the 44th were sent to Kiel on May 14th 1943, carrying a large number of incendiaries. Flying behind the higher B-17s, they were easy pickings for the FW-190s who picked off five of the twenty-one sent out before they reached the target. However, the determination of the crews saw some aircraft both get through and bomb successfully, a determination that won the group their first Distinguished Unit Citation (DUC).
With another aircraft lost on the return leg, the 44th had taken yet another beating, apart from odd crewmen who had been on leave or indisposed, the entire 67th had now been wiped out, one-quarter of the 44th was gone. Those that were left became bitter, some refused to fly, some had breakdowns but many others became stronger and more determined to see this through. The strength of those left was fuelled by both the bitter feeling toward the B-17 crews who continually mocked them, referring to them as ‘the jinx unit’, and those in command who it was felt used them for Luftwaffe bait.
There then followed a short period of good luck. A raid on the Submarine repair depot at Bordeaux on May 17th 1943 saw the loss of only one aircraft. ‘Avenger II‘ #42-40130 suffered engine problems, and being too far from England to make it back, the pilot 1st Lt. Ray Hilliard and the crew, decided to try their luck in neutral Spain. Turning south, they landed at the airfield at Alhama de Aragon where they were interned spending the next three months at the pleasure of the Spanish, before being returned to England.
There next followed an operational intermission, the B-24s swapping ‘ops’ for low flying practice over the English countryside until, on June 26th, when they departed Shipdham for the warmer climates of North Africa. Here they would carry out bombing missions over Italy and southern Europe including the famous Ploesti Oil refinery raid in August, for which they took another hammering and earned a second DUC in August 1943.
In late August, the 44th began returning to Shipdham, with some detachments remaining in North Africa, this meant that the 44th was split between both England and North Africa, performing missions from both locations. A disastrous few months however, had taken further tolls on the crews, but camaraderie remained high and resilience strong.
The winter of 1943/44 was one of the worst for the cold, ice and snow. England like most of Europe was snowed in and temperatures dropped dramatically. For the 44th, the new year would not bring any let up, and it started on yet another terrible note!