In Part 1 Downham was born, serving the Stirlings of Bomber Command before becoming part of Bennett’s Pathfinder Force. A large airfield, it was often busy and as the war progressed toward D-Day, preparations began for operations over the invasion area.
On June 3rd 1944 Lancaster ND841 ‘F2-D‘ piloted by F/O. George. A. Young (s/n: 134149) RAFVR 635 Squadron, was detailed to attack Calais as part of the preparations for the forthcoming D-Day invasion. There would be eight other aircraft from RAF Downham Market also detailed for the mission, and take off would be late that evening.
The mission as a whole would involve 127 Lancasters and 8 Mosquitoes of 1, 3 and 8 Groups and the targets would be the gun batteries at both Calais and Wimerereux. It was a diversionary raid as part of Operation “Fortitude South“, the elaborate plan to fool the Germans into believing the invasion would occur in the Pas-de-Calais region.
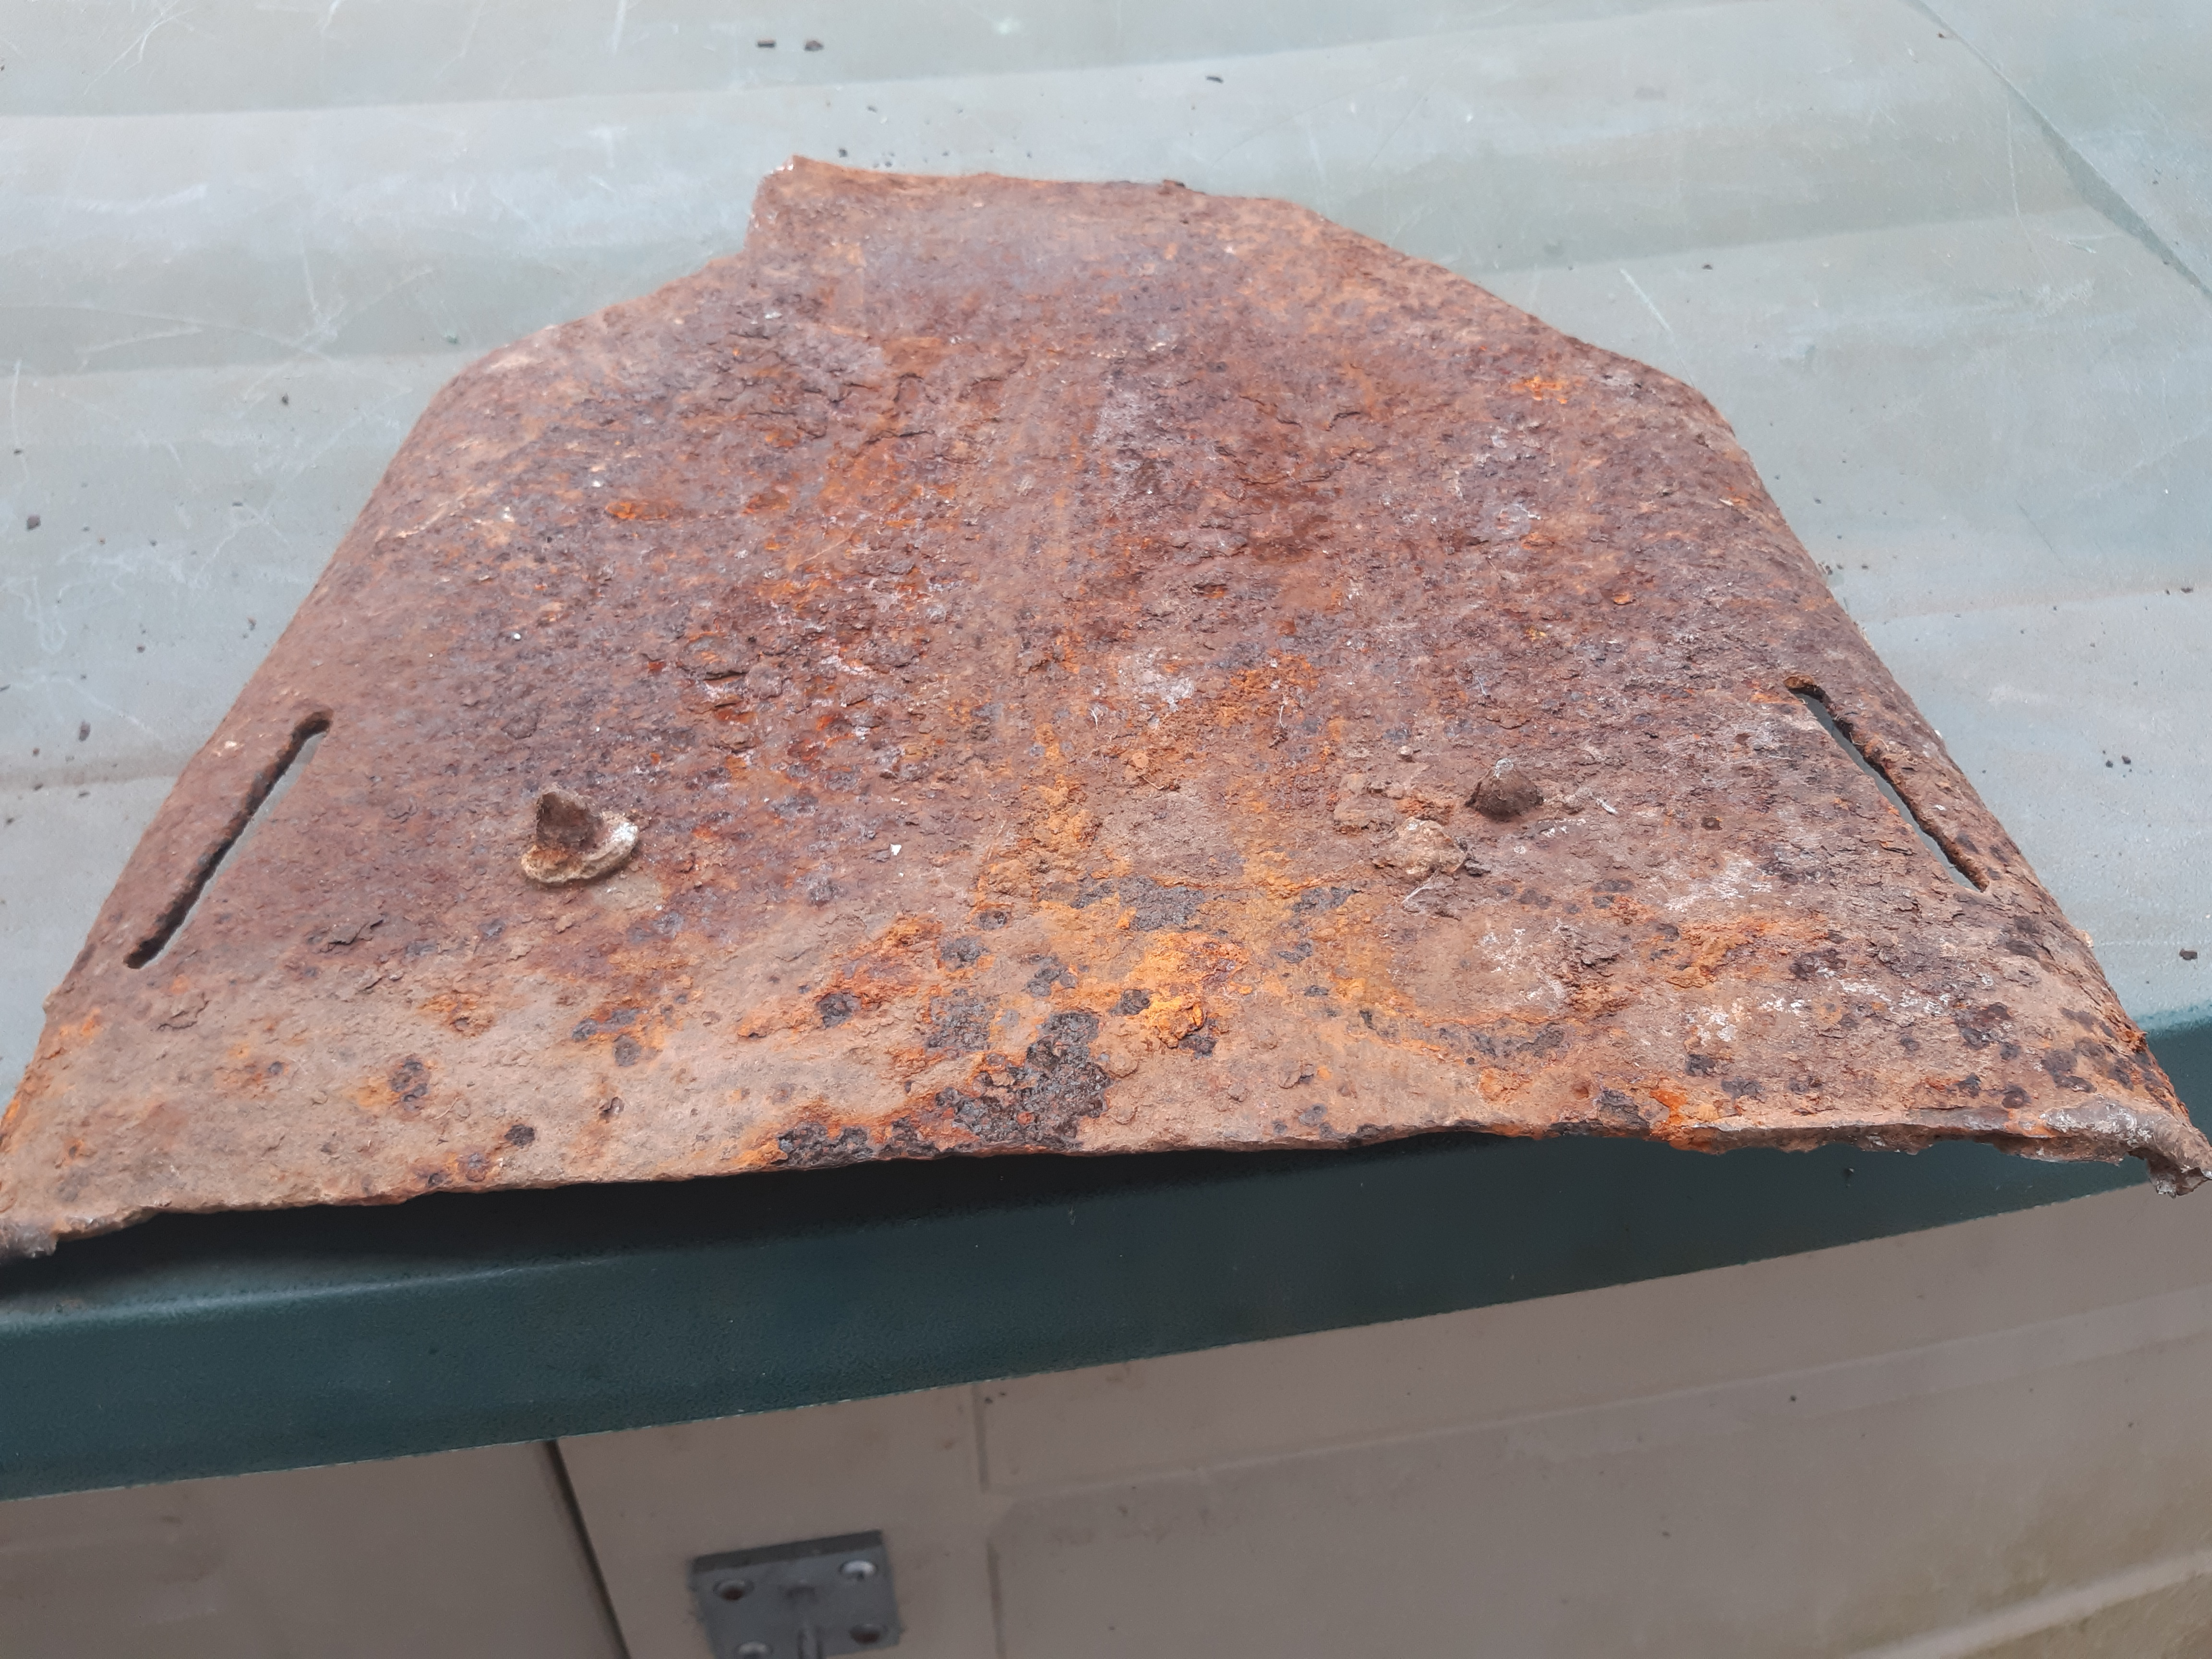
At 28 minutes past midnight, F/O. Young lined the Lancaster up on the runway, opened the throttles and began the long run. As the Lancaster approached take off, it began to swing striking the roof of the B1 Hangar. In an uncontrollable state the aircraft crashed just outside the airfield killing all those on board. What was left of the aircraft was salvaged, and three of the crew buried in the local cemetery in Downham Market.

F.Sgt. Stanley Wharton (RAFVR) 635 Sqn. One of seven Killed 4th June 1944.
Two months later, another pilot of 635 Sqn, also flying a Lancaster III, ND811, ‘F2-T’, Squadron Leader Ian Bazalgette, would be awarded the second of Downham’s Victoria Crosses.
On August 4th 1944, flying Lancaster ‘T’ for Tommy, on a daylight raid to mark the V1 storage depot at Trossy St. Maximin, the aircraft was hit by flak knocking out both starboard engines and setting the aircraft on fire. Bazalgette pressed on, marked the target and then instructed the crew to bail out. Two of the crew were so badly injured they could not do so, and so Bazalgette attempted a crash landing. Unfortunately on impact with the ground the aircraft exploded, killing all three remaining crew members on board.
For his bravery and sacrifice, Ian Bazalgette was also awarded the V.C., the highest honour for military personnel. The London Gazette, of 14th August 1945, announced the award, citing: “His heroic sacrifice marked the climax of a long career of operations against the enemy. He always chose the more dangerous and exacting roles. His courage and devotion to duty were beyond praise“.
During that same month, August 1944, another squadron would appear here at Downham. Joining 635 Sqn were 608 Sqn, who had previously been operating abroad. They were reformed here on August 1st that year, also joining Bennett’s elite group. Another Mosquito squadron, they bolstered the number of aircraft and personnel present here at Downham. Flying the Mosquito XX, XXV and eventually XVI, they remained at Downham for a year whereupon they were once more disbanded. Whilst operating these aircraft, 608 Sqn would fly 1,726 operational sorties all as part of Bennett’s Pathfinder Force.
608 Sqn’s primary role was to carry out night strikes as part of the Pathfinder Operations focusing on the German heartland. Targets included: Berlin, Frankfurt, Hanover, Essen, Stuttgart, Nuremberg, Hamburg, Emden and Kiel. Their first operational sortie from Downham was on the night of 5th/6th August 1944, when a single Mosquito took off and bombed Wanne-Eickel.
Then, a month later, on the night of 6th November 1944, twelve aircraft from 608 Sqn took off in a diversionary attack on targets at Gelsenkirchen. The idea was to draw defences away from a much larger force attacking both Gravenhorst and Koblenz. The plan was for 608 to begin their attack five minutes ahead of the other forces, a plan that went like clockwork.
The full story of Mosquito KB364, piloted by P.O. James McLean (26) and Sgt. Mervyn Lambert Tansley (21), appears in Heroic Tales, but this was to be their final, fatal flight.
On return, the aircraft careered into All Saints’ Church, Bawdeswell, some 30 miles north-east of the airfield, setting it alight. The impact was such that parts of the aircraft struck two other homes, causing extensive damage to both properties. The resultant fire took four hours to extinguish and included crews from other nearby airfields. In honour of the two airmen, a plaque manufactured from part of the Mosquito has been mounted on the church wall inside the building.
The Christmas period of 1944 was a busy one for Downham and for the FIDO operators. With freezing fog, snow and general poor weather causing many problems for those on the continent and for those on British soil attempting to take off, FIDO crews were going to be busy. FIDO primarily designed as a landing aid, also permitted take offs during poor visibility. However, getting to the runway was a challenge in itself. Often with visibility down to just feet, ground staff would line the perimeter tracks with torches to guide each aircraft safely along. Anyone who made a mistake took the risk of running off the perimeter track, sinking into the ground along side or worse.
By the dawn of 1945 the war in Europe was all but over. Operations began to focus on troop concentrations, possible German escape routes and harbours. Both 635 and 608 Sqns continued operational flying until the war’s end. In August and early September these last two operational squadrons at Downham Market were disbanded, 608 Sqn on August 24th and 635 Sqn on September 1st. This left Downham devoid of all front line units.

A recently discovered photograph showing a D.H. Mosquito of Downham Market, taken on May 2nd 1945. It was taken just prior to the last mission undertaken by RAF aircraft on an attack on the Kiel Canal. It shows Ground & Aircrew next to their Mosquito and ‘Cookie’. It was found by Brian Emsley, his father Edward Emsley is far left.*
With peace now settling across Europe, focus turned to returning personnel back to ‘Civvy street’. Within 8 Group, a new scheme was set up, and personnel were encouraged to make use of it. Across the range of Pathfinder stations, EVT (Educational and Vocational Training) was introduced. These classes were designed to give personnel the much needed skills in a range of civilian areas, to help them integrate back into civil life. Classes were broad and included a range of domestic activities such as: landscape gardening, cookery, music and carpentry. Some of these such as ‘domestic science’ were designed with the WAAFs in mind, whilst others were geared more (but not exclusively) toward the men.

1945 – Landscape and floral gardening are subjects given in the E.V.T. classes at Downham Market. Leading Aircraftman Arthur Pickersgill [centre] is now the station instructor. (IWM CH16028)
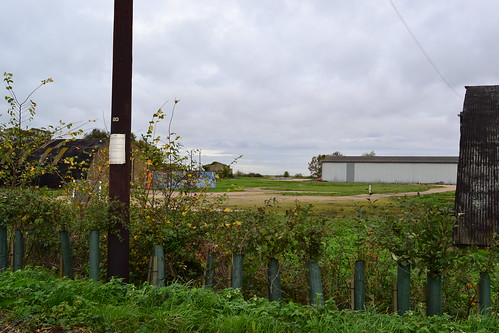
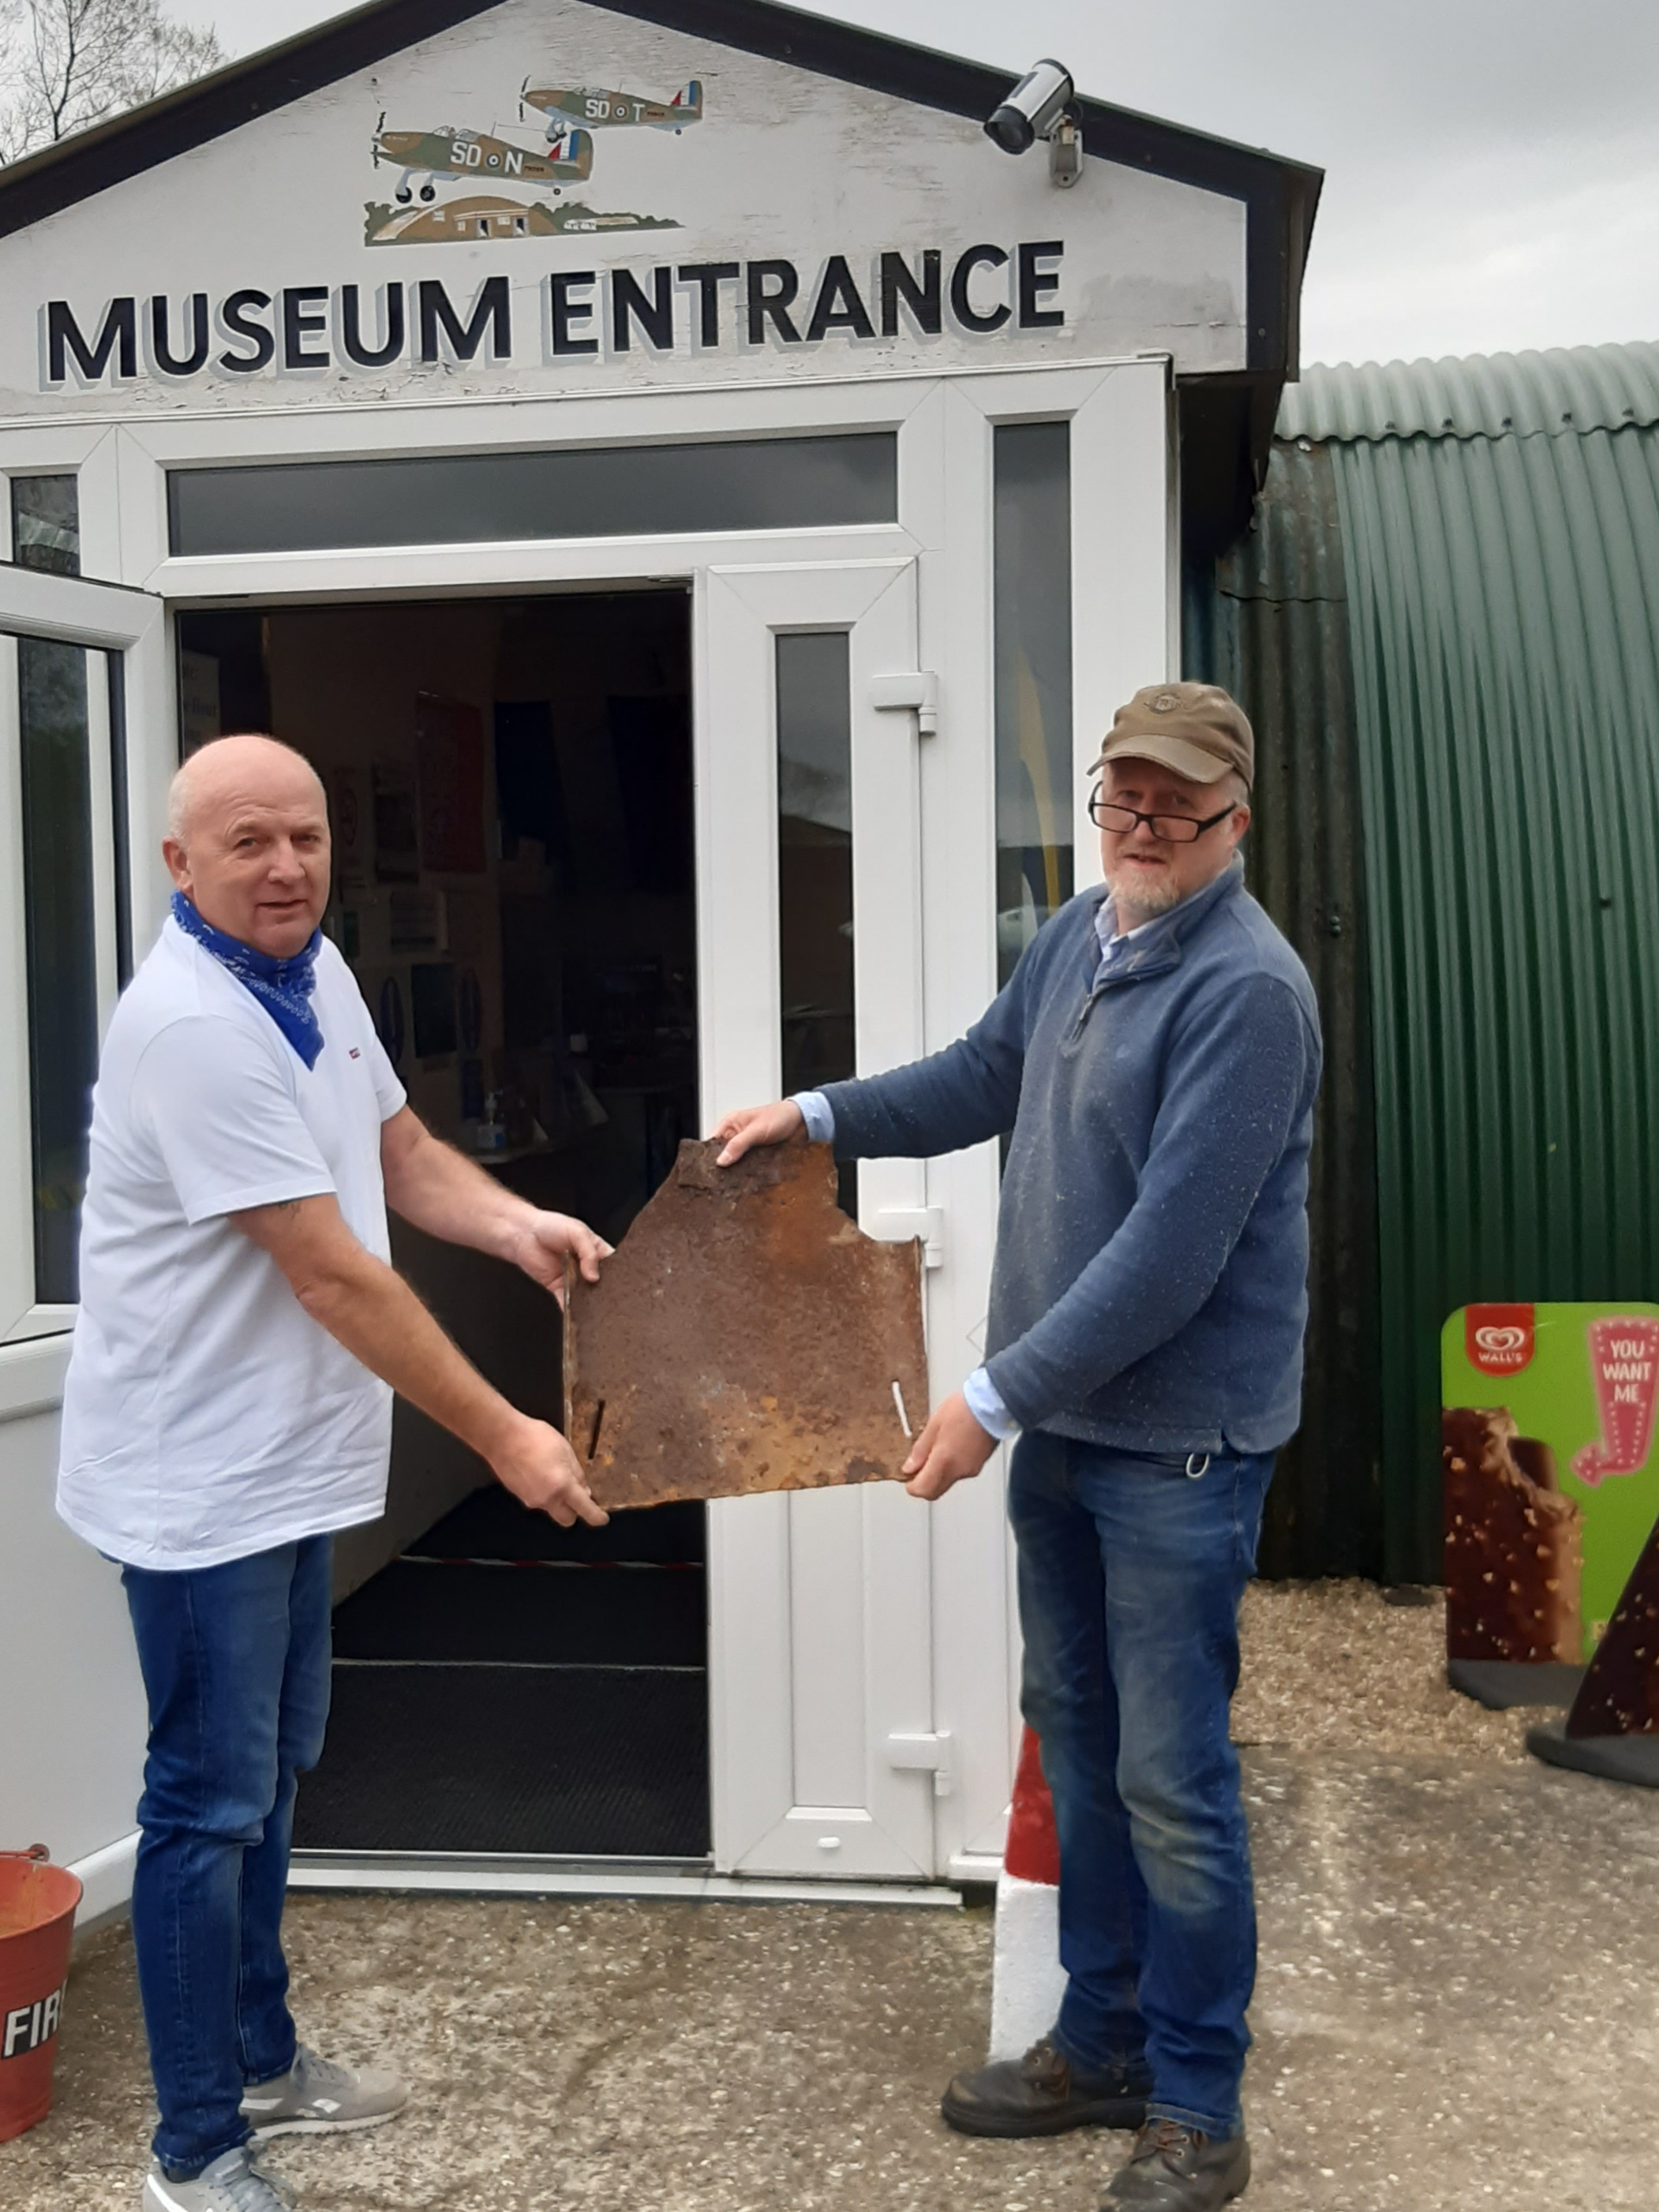
Eventually in 1957, the land was sold off. The site was returned to agriculture but the airfield’s runways remained intact. In the 1970s, the Downham Market by-pass was built and the concrete runways were an ideal source of local hardcore. All three were subsequently removed along with large sections of the perimeter track leaving a mere road’s width for the larger part. Many of the buildings were at this time left, and small businesses soon took them over. One of these, a kitchen sales shop, now houses a small display relating to the history of the airfield.
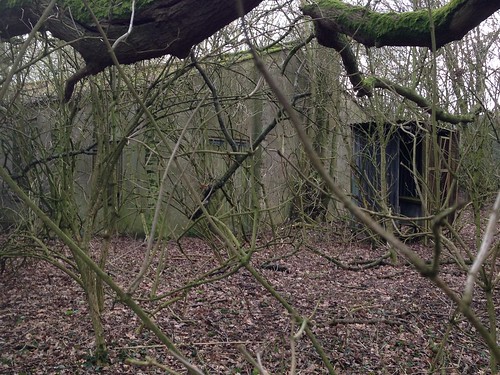
At ground level, the discerning eye and a general appreciation of airfield structure and layout, suggest a presence of something more interesting. Huts, whilst in very poor condition, poke through overgrown trees and bushes, and provide shelter and storage facilities for local industry. The condition of windows and brickwork suggest that time is gradually running out for this once thriving airfield, unless other businesses move in.
The main runway ran east – west and for many years a small section of this remained for the farmers use. It was this runway that utilised FIDO, the storage area (at the far end) now taken over by the car dealership.

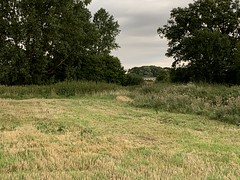
The remnants of the main runway. Sadly this has now also been removed. It was this runway that utilised FIDO.
The remaining two runways were both removed for the hardcore. The western perimeter track remains in part width, from the threshold of the second runway virtually to the top to the threshold of the northern end of the third runway. However, the A10 road now dissects this and the uppermost part has been removed also. A new track (a public track) has been built for the farmer, this cuts across the northern end of the airfield and it is here that the (flooded) Battle Headquarters can be found. Now part of a ditch, its roof forms a bridge into one of the adjoining fields, it can only be found with careful searches of this ditch!

A flooded Battle Headquarters. Several rooms exist below ground level, but these are all flooded, some said to be very deep.
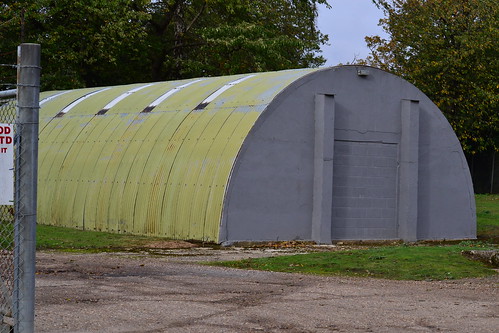
Virtually the entire length of the northern part of the peri track can be walked round to the eastern end of the main runway. Part way along, another track leads off to the former bomb store, this is private the store now a wooded area. Also along here is the ultra heavy fusing point, a shed that is now used by the local farmer. At the far end of the peri track is where the accommodation area was constructed for the FIDO installers using Laing Hutting. Across the road can be seen the car dealership built on what was the FIDO installation. None of the original buildings remain here, but the peri track widens out to full width again at this point and heads east back toward the technical area.
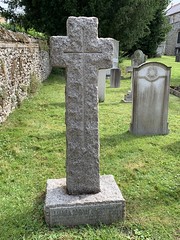
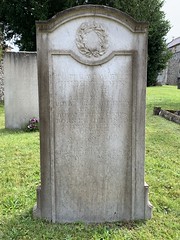
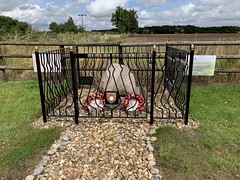
Across the road from the technical area is the camp entrance and Bexwell, a small collection of houses and a church. Here a small memorial is placed telling the stories of the two heroic and brave crew members Aaron and Bazalgette. This road is the old road that led to all the accommodation areas. The WAAF site being the first and one of only two sites left with buildings still in place.
Buildings on the WAAF site.
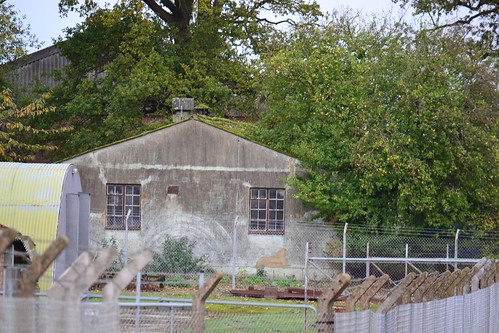
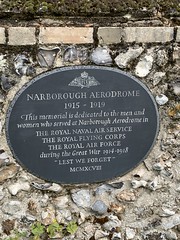
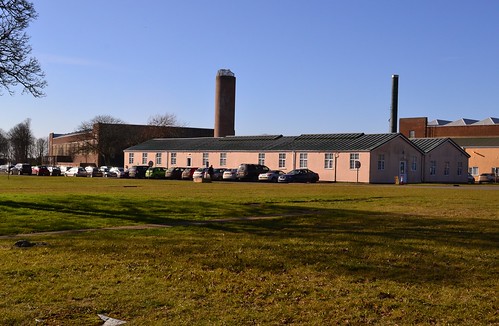
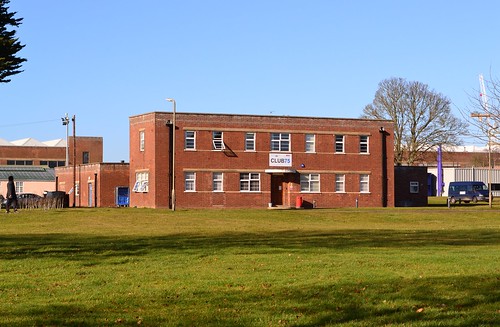
The other sites here include the Communal Site 1, Dormitory Site 1 (A), Sick Quarters, Dormitory Sites No. 2 (B), 3 (C), 4 (K) and 5 (J). Another track leads off to a sewage works. The road eventually joins the main A10. Across from here is the Communal Site 2, the second site with buildings still in use, and currently used by an engineering firm. A First World War memorial is also located here oddly hidden away amongst the bushes. Alongside these buildings are a pathway that leads to the second sewage treatment works. This site can also be accessed by public footpath from the main road into Downham itself.
The sewage site. Through the trees you can see the remains of Communal Site 2.
Downham Market is an airfield that has a remarkable history, the dedication and bravery of the crews being second to none. What is left of this historic site is continually under threat, decay and dilapidation rapidly taking over.
The town is regularly overflown by F-35s from Marham, but when I was first here, two Tornadoes flew over whilst I was reading the dedications to both Bazalgette and Aaron. A fitting tribute not only to the two brave pilots, but all the crews that served here and to a station originally built to serve as a satellite for the very same airfield.
In 2015, a £170m regeneration plan was announced, perhaps signalling the end of Downham Market airfield for good (see here) – further details of these plans were to be released in the early part of 2016, but the funding for the scheme seemed to have been withdrawn in January 2020. No more seems to have been said about this venture, but more recently, development work for a fast-food outlet and shop was started alongside the western perimeter track, hopefully this won’t lead to further loss.
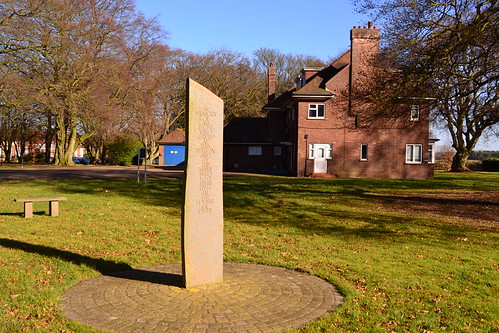
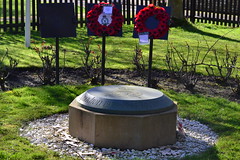
In April 2017 a project was launched to raise money for a seven slab memorial to be built close to the site of the former Dormitory Site 1, adjacent to the A10 road. The project hoped to raise in the region of £250,000 to cover the cost of the memorial and provide a lasting memory of those who flew and died whilst serving at RAF Downham Market. The full story and pictures can be accessed on the Eastern Daily Press website. There are more details and a link to the donations page on the RAF Downham Market website. I have been unable to confirm latest details and it may be another victim to the pandemic of 2020/21, only time will tell.
Trail 7 next leaves Downham Market heading east towards Norwich, stopping off at RAF Marham. On the way, we pass through the Norfolk countryside and a secret that shall no doubt, forever remain just that.
Sources and further reading (Downham Market).
* Photo published by the BBC 3/5/2015.
Technical information regarding the site was obtained from official drawings 50/W/117/42 and 50/W/116/42 courtesy of RAF Museum Hendon.
*1 National Archives AIR 27/1350
*2 National Archives AIR 27/1352/5
*3 National Archives AIR 27/2155/1, AIR 27/381/5
*4 Woodley, C. “The History Of British European Airways” Pen & Sword, 2006
The RAF’s pathfinder group, 635 squadron, flew daring missions in Lancasters, and a site dedicated to the crew and personnel of the squadron can be found on the RAF pathfinders archive website. A superb collection of photographs and personal accounts bring their memories alive.


